Browsing Category

kids

Blog, christmas, Family, holidays, kids

Clem on the Shelf


I hope you all had a very Merry Christmas! Don has worked nights (holidays included) since our 7 year old was born so it’s been that long since he has spent a Christmas morning awake with us. He switched to the day shift last year right after Christmas so this was the first time he was able to spend Christmas morning with us. We were very excited to be able to start new traditions this year!

Unfortunately, yesterday all of our kids started getting sick. We’ve had 6 kids with coughs, 3 with fevers, 2 close to having a fever….and a partridge in a pear tree 😉 So we’ve had to reschedule our last Christmas gathering with Don’s family while we keep our germs at home and try to clean up the toy tornado left behind from Christmas day.

Anyway, over the past few weeks, I’ve been posting pictures as a part of a little photo series on my Instagram under the hashtag #clemontheshelf so I wanted to share them all here, along with sharing a bit about them.

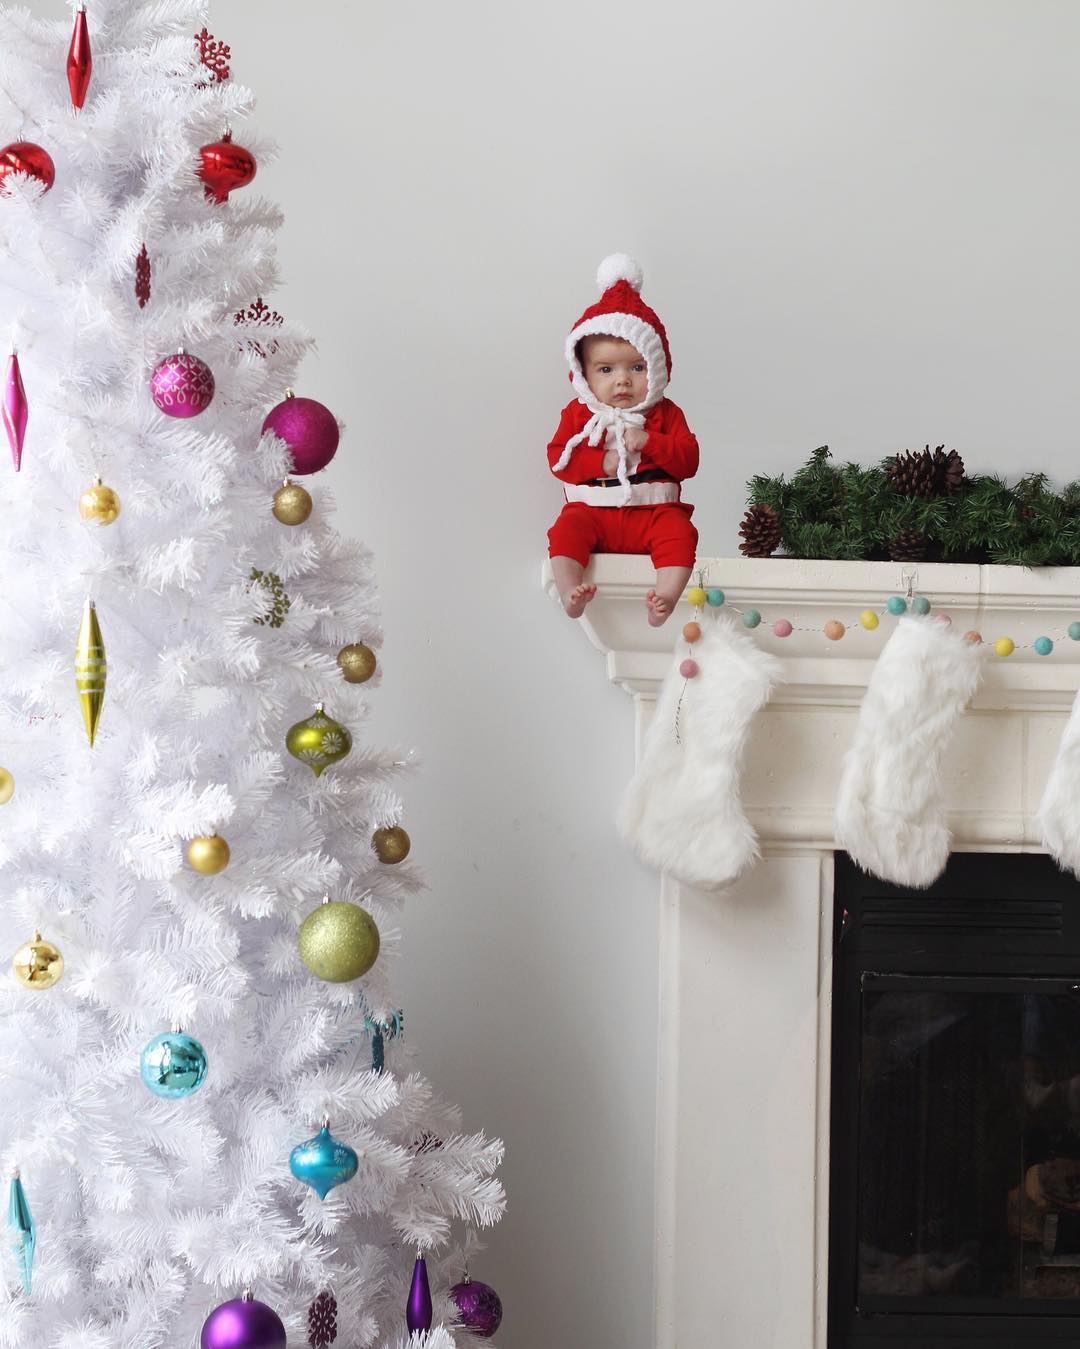
Last year we had taken a picture of Clementine as a tiny little baby on our mantle and deemed it our “Clem on the Shelf” (you can see that picture HERE.) I’m sure you’re fully aware what an Elf on the Shelf is. While we don’t actually do the whole elf thing, we did have a lot of fun setting up these pictures of Clementine.

The first picture idea came to me while I was out running errands one day. I called Don (I hate talking on the phone so this must have been really important in my mind haha) and told him the whole idea I had for a picture. I am pretty sure I had more confidence in his photoshop skills than he did but he agreed that it sounded like a good idea.

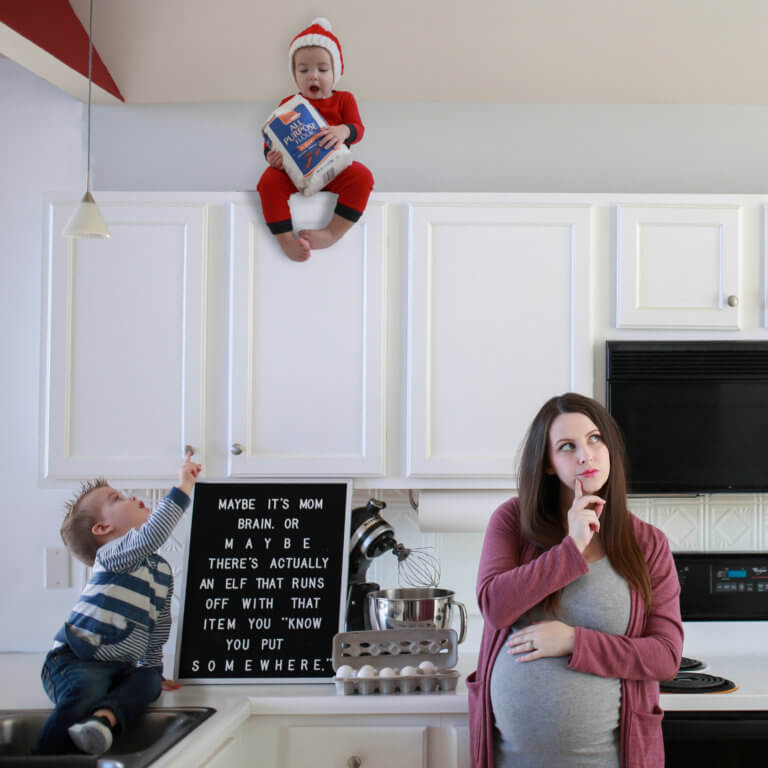
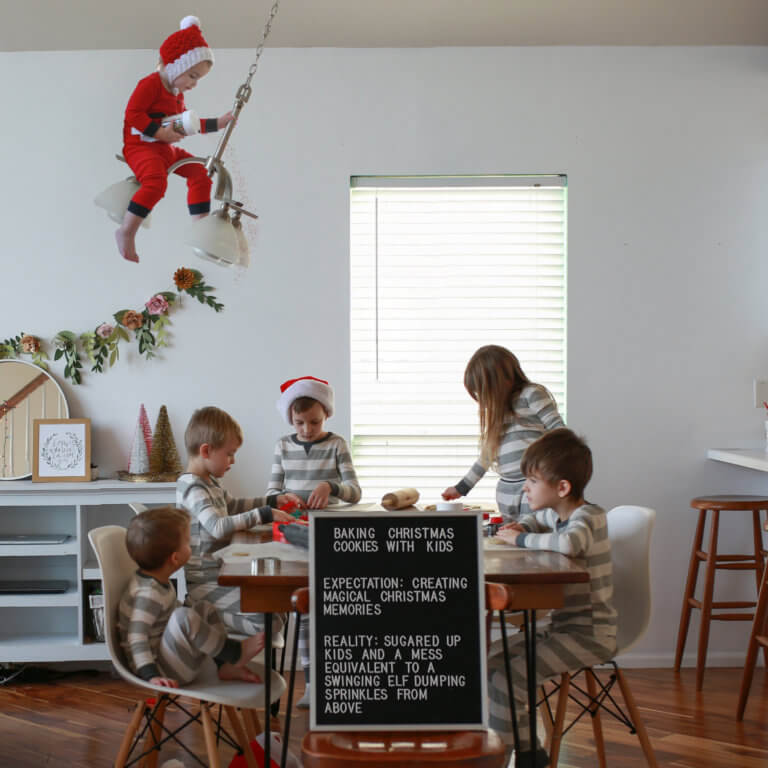
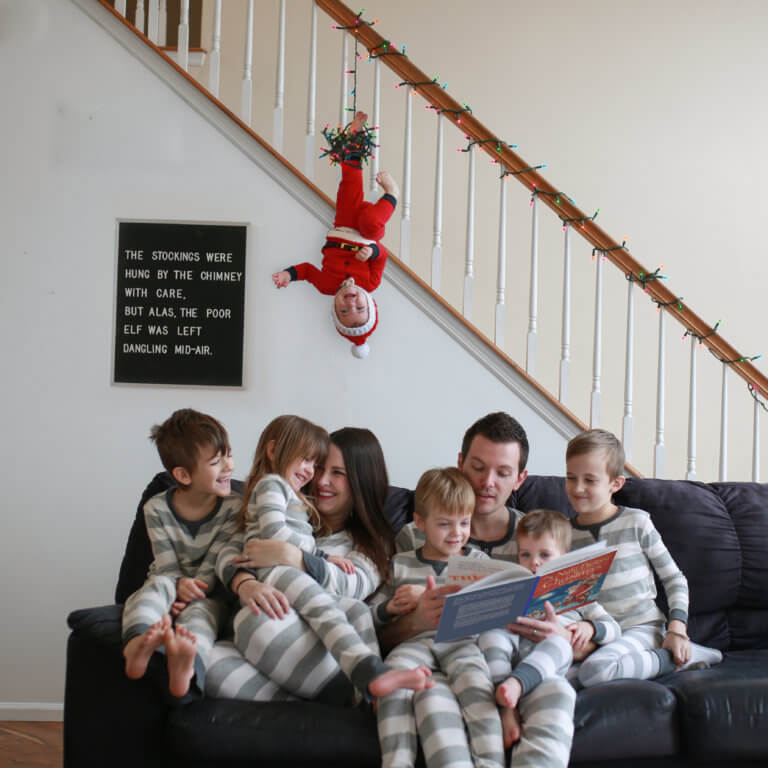
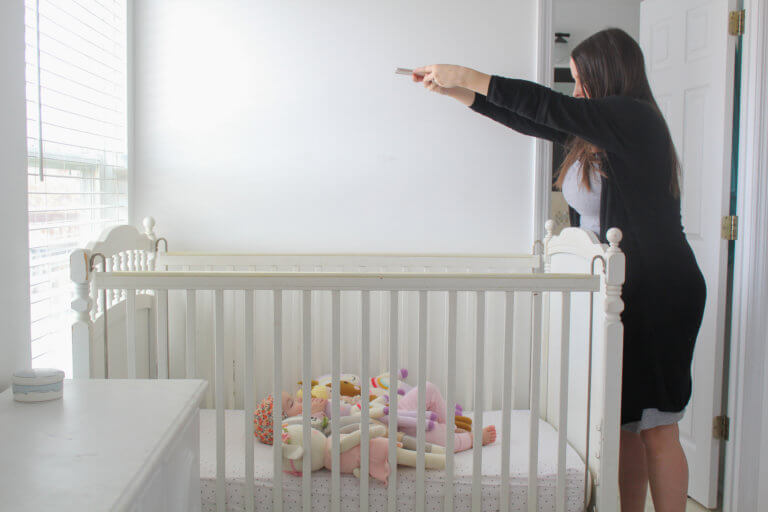
By the time we were done talking about all the ideas with the first picture, I decided that I wanted to do a little mini series and already had multiple ideas floating through my mind. I knew they all obviously had to include our Clem on the Shelf. But I also wanted to incorporate our letterboard to help with the storyline of each photo.

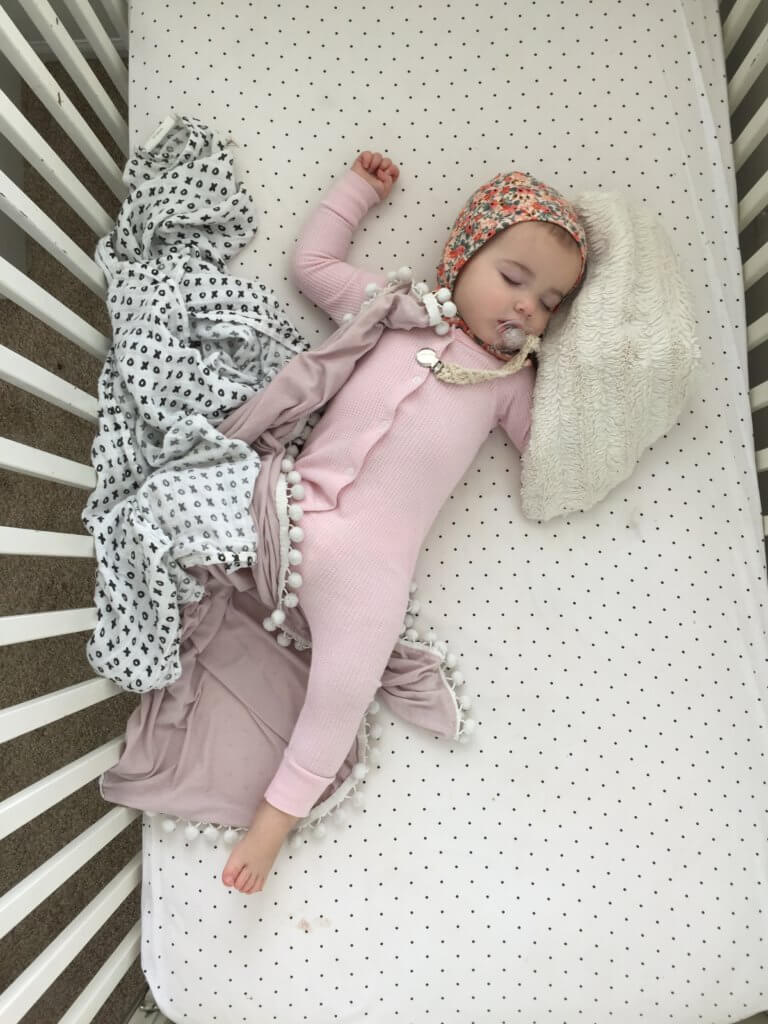
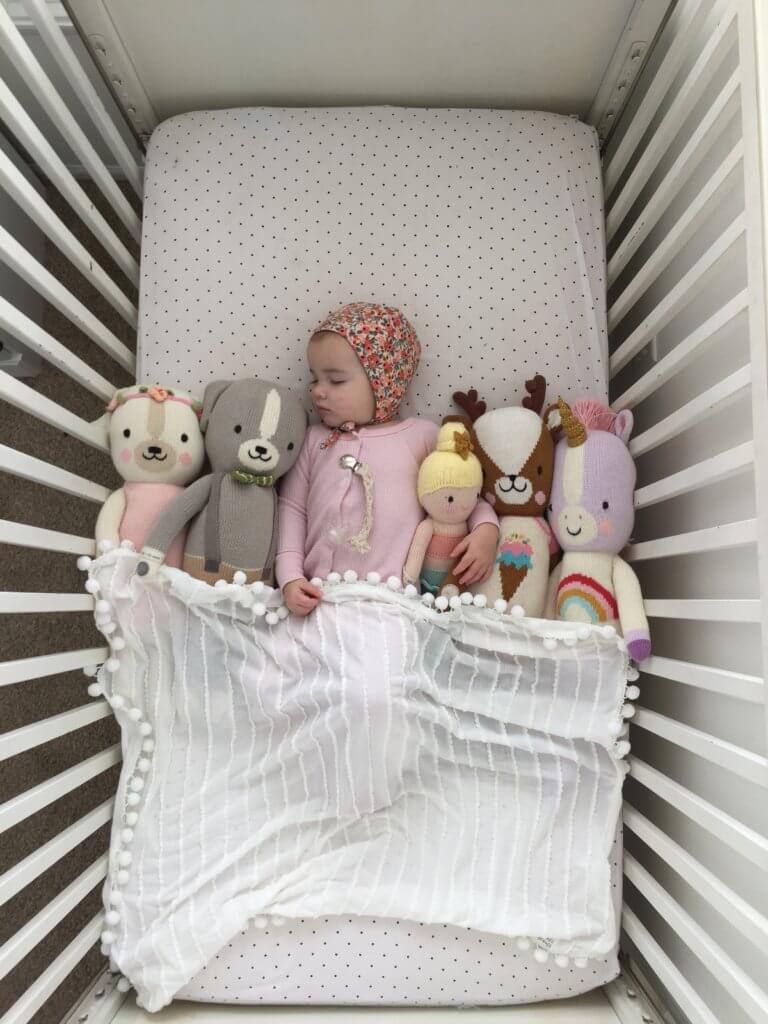
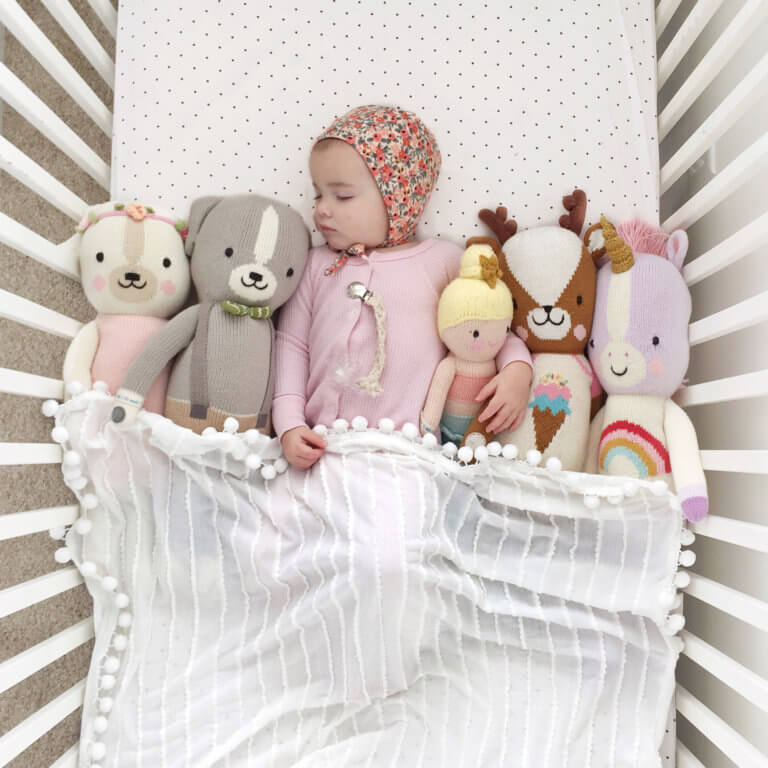
With each photo, we would photograph Clementine separately and Don would photoshop her in later. He is actually currently working on a guest blog post to share a little behind the scenes look at how he did it. It isn’t exactly a tutorial but it does explain his process and what he learned through doing all these photos. I can see how his skills improved over the course of the past few weeks just from playing around and watching tutorials.

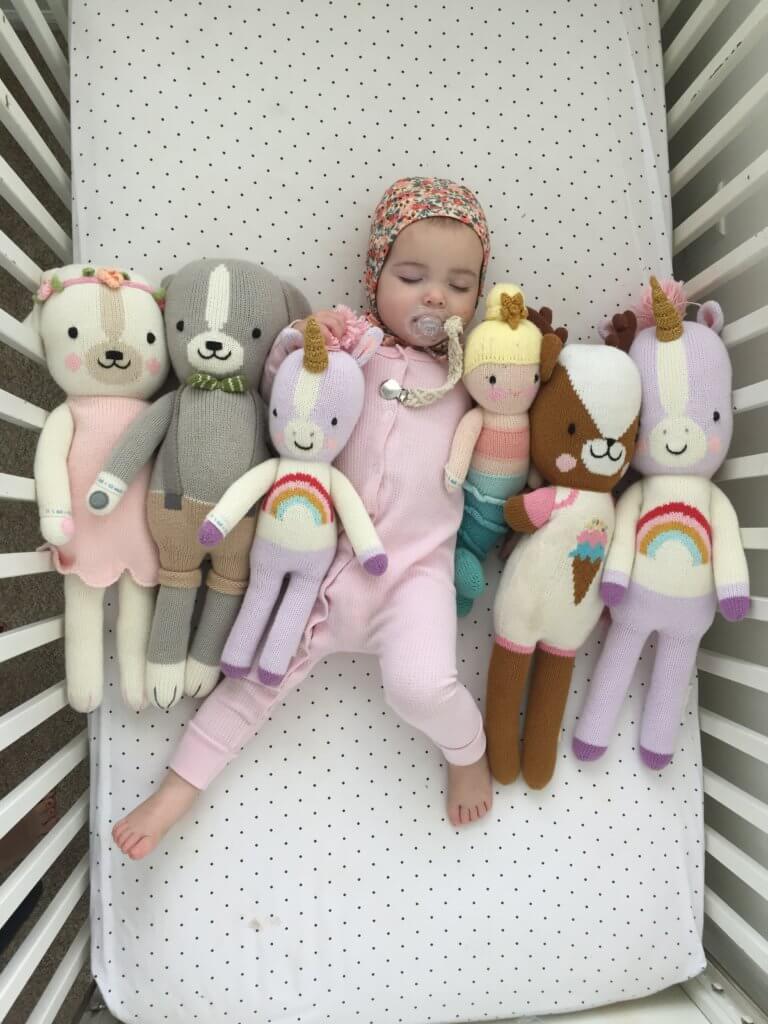
What I think is really neat is that some of these pictures are actually 3-5 pictures all layered together to make the final edit. It’s kind of amazing what goes into making one “simple” picture.

I think the best part about this project was working together with my husband to come up with the ideas. I usually pitched an idea and then we’d toss ideas back and forth until we came up with the end result. The hardest part (for me) was coming up with the letterboard quote. I’m pretty sure that with each of the quotes, I would ask Don what we should write and then turn down all of his ideas and just go with something I liked haha. But it still helped to hear his ideas because sometimes it sparked an idea for me.

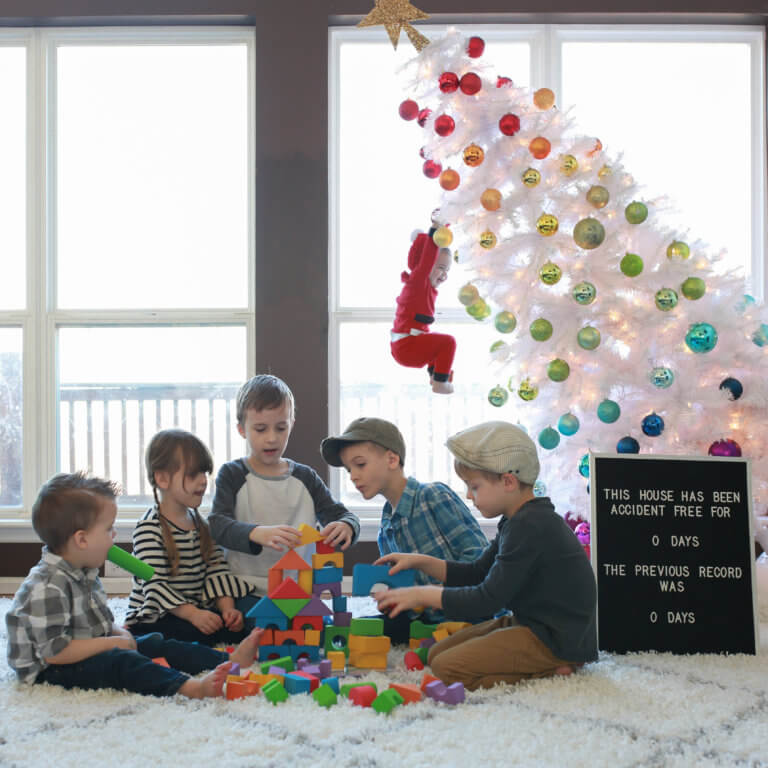
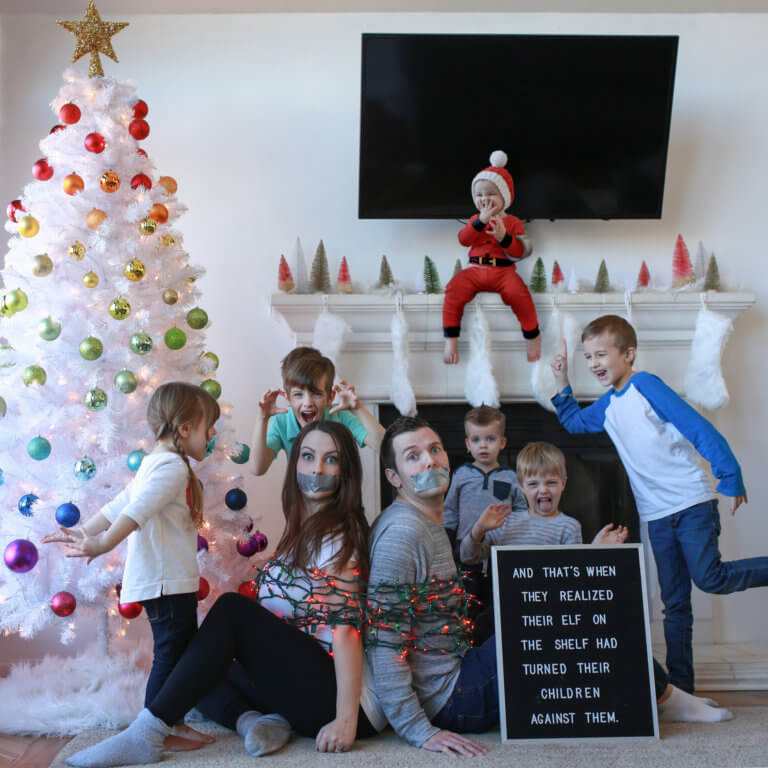
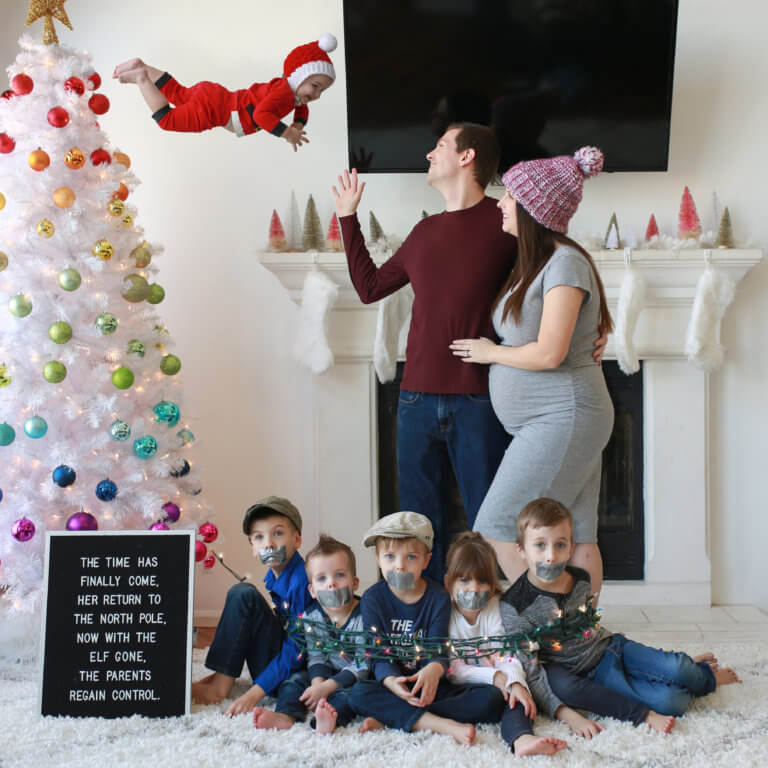
The kids also had a lot of fun with this project and seeing how it all came together. When it came to the last photo and I wanted to do the reverse setup of our first photo, I was afraid that they would complain about being tied up and duct taped…especially with Desmond, our 2 year old. But they were all giggling and thought it was hilarious. I had a hard time find a photo where Desmond didn’t look too happy.

I think we need to print out a short little photo book with the pictures to set out every Christmas season. I think it’ll be really fun for the kids to look back on and see some of the fun memories we made together.

As for the question of our plans for next year, I do think our elf will be back! But it’s up for debate on if Clem will be taking on the role or if her new baby sister will be taking over. Clementine was actually not the easiest to work with this year. We had to get really creative with how to get her to cooperate (and it involved quite a few mini marshmallows.) But I love how they all turned out!

Now that this project is done, I feel that I have been depleted of all creativity so I’ll have to work to get out of that funk.

Thank you to everyone who followed along with our little series and for all the kind comments! We really had so much fun putting these together so it means so much that other people have enjoyed them too!

Blog, Clementine, instagram, iphone

How I Take and Edit an Instagram Photo


I’m wrapping up my little 3 part “Instagram series” with this behind the scenes look at how I take an Instagram picture and edit it. You can find Part One (where I shared how I became an influencer) right HERE and Part Two (where I shared tips on how you can improve and grow your own feed) HERE.

I love behind the scenes stuff so I thought this post would be fun! I wanted to answer a few questions I get about my pictures (what camera I use, how I get pictures of Clementine sleeping, how I edit, etc.) So hopefully this post is helpful!

I could take this post a lot of different directions (phone vs. dslr, group shot vs. individual, etc.) But since I do get so many questions specifically about the sleeping Clementine pictures, I thought that would be a great example to use. And I always use my phone to get these shots so keep that in mind.

A lot of people want to know how I’m able to get well lit pictures of her sleeping so I’ll just show you the current (crammed) setup of her crib in our room.

As you can see, the light is flooding in directly by her bed. She’s been sleeping right here since she was itty bitty and she’s always been used to sleeping with the blinds open. So the light does not bother her while she’s napping. And as far as noise goes, we always use a fan at naptime and bedtime and since she is in our room, we are in and out of there a lot while she’s sleeping. So I feel like at this point, she can sleep through quite a bit.

Anyway, when I am planning to get a sleeping picture of her, I usually just lay her down with her little lovey that she won’t sleep without (from Stella and Lu) and leave the room until she falls asleep. And in case you’re wondering–yes, I do plan these pictures out in my head ahead of time. Sometimes I do it to display a product collaboration and sometimes it’s because I think it’s adorable. But I’m pretty sure all her naptime photos are planned before she even goes to sleep.

I check back in on her about 10 minutes later and 99.9% of the time, she’s sleeping. This is the point I take a picture because she’s in a deeper sleep and won’t startle awake as easily. However, whatever position she’s laying in when I walk in to check on her (on her back, belly, or side) I just have to work with because there’s no way I’m risking flipping her over just for a picture. So for the example I’m going to use, when I walked into our room, I found sweet Clementine napping like this…

I was excited that she was on her back because that’s the vision I had in my mind. But she was sleeping at an angle so I had to gently scoot her over to the center. Usually I don’t adjust that much but I had a very particular setup in my mind this time so I took the risk and moved her over.

I wanted to get a picture of Clementine sleeping with all of the Cuddle and Kind dolls we have. Evangeline and Kingston had the opportunity to be in a video shoot for them recently and they each got a doll in return. So after adding those 2 dolls to the 4 dolls we already had, I knew I wanted to get a picture of all of them together. **A little side note–This company does amazing things by donating meals to children in need. This weekend they are doubling their impact. Each doll sold= 20 meals donated! (No coupon required.) And you can get free shipping by using the code GIVETHANKS. This post isn’t sponsored by them but I always love to share about this company!

Anyway, this is one of the first pictures I took (it’s completely unedited.) I always start out with some test shots before I move anything around so I can get a better idea of what I want for the picture.

After I see the first shots, I start to make adjustments. I didn’t like how crammed it looked with all 6 dolls and I also didn’t like the repetition of the two unicorns so I took the smaller one away. I also didn’t like the way her legs looked so I tried to adjust those a bit. Sometimes she moves how I want her to, sometimes she doesn’t. After I felt like I had everything else adjusted, I took out her pacifier and started taking pictures. And here’s a dorky shot that I had Don take to show what I look like when I’m trying to get a picture. Whatever it takes to get “the shot.”

Because her legs were looking weird to me, I grabbed a blanket to cover them up. I kept making small adjustments until I liked the way everything was lined up. I ended up with the shot below. This was the last picture I took (after taking a ton.) P.S. that arm around the mermaid was actually something she did on her own and I love it!

So here it is unedited…

And here’s the edited version…

(Editing to add a disclaimer! When I posted this photo to Instagram, I felt that it still looked a little dull so I deleted it and then bumped up the brightness, highlights, and contrast through the Instagram editing.)

As you can see, I brightened it up quite a bit. The thing about editing is that everybody has a different style. And that’s okay! That’s what makes photography more interesting! My husband and I have opposite taste in editing. I like light and airy, he likes dark and contrasted. If this editing style is not your thing, that’s fine!

However, if you’d like to know how I got this final result, I actually made a video to share my editing from start to finish. Unfortunately, when I uploaded to youtube, it didn’t upload the audio. I was actually talking throughout and explaining each part but the audio didn’t carry over for some reason. Hopefully I can get that issue resolved if I do another video like this. But this time I guess you can just be thankful that you didn’t have to listen to my nasal-y voice.

To quickly summarize, I start with Snapseed to brighten, fix any discoloration, and “heal” out imperfections (like the stuff that didn’t get vacuumed up beforehand 😉 ) Then I usually run my pictures through A Color Story to put a filter on it (Punch from the Blush pack is my current favorite) and use the curves until I like the finished result. And then I do my final adjustments in Instagram (like changing perspective and straightening the picture.) I’m still working on my editing skills because I really never feel like that’s my specialty. But I know I have seen improvement at some point in the past few years.

Anyway, here is the video for you to see how I got the final picture! If you have any questions or think you’d like more examples, please let me know! Have a great weekend!