Last week I shared Part 1 of the kids’ room makeovers where I talked about their amazing bedding. Now I’m sharing the other parts of their rooms. Part of me was hesitant to share because I feel like their rooms are still missing elements. But their rooms have come a long way so I thought I would share what we have now and I can update down the road. (I’m also admittedly not a great interior photographer–the lighting is so off! I just thought I would throw that out there since I know you’re already thinking it 😉 )
I’ll start with the boys’ room
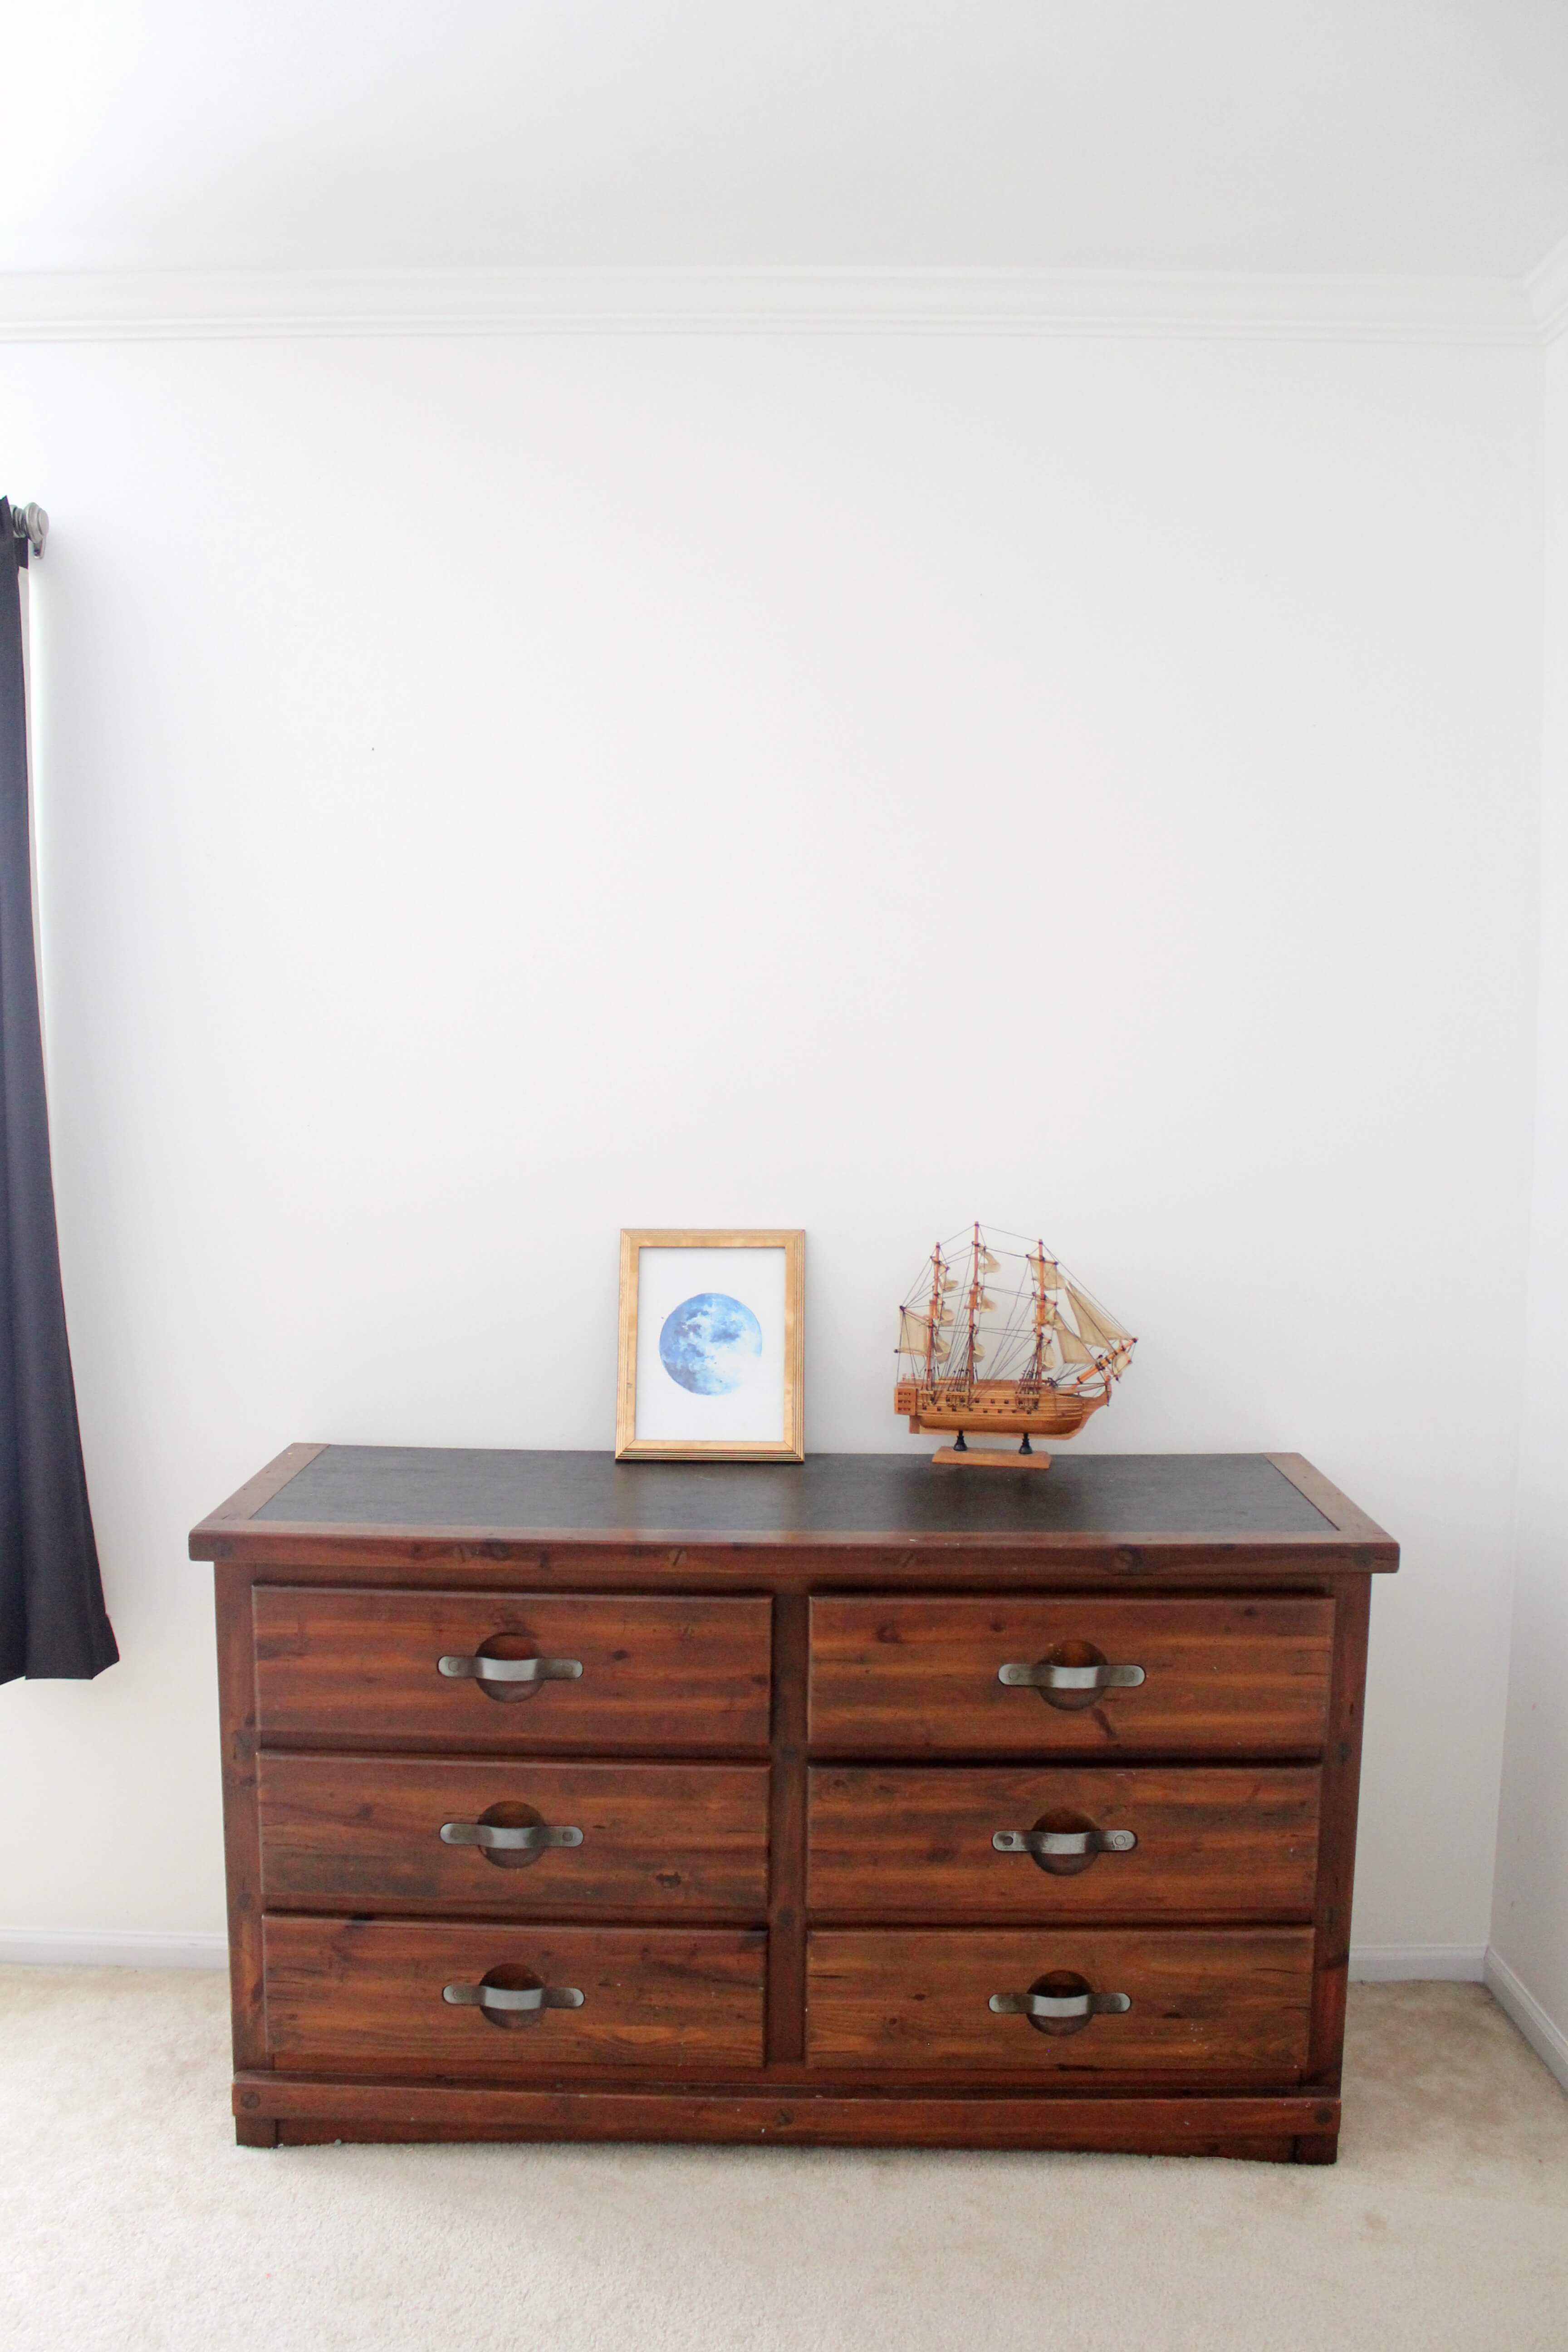
(before)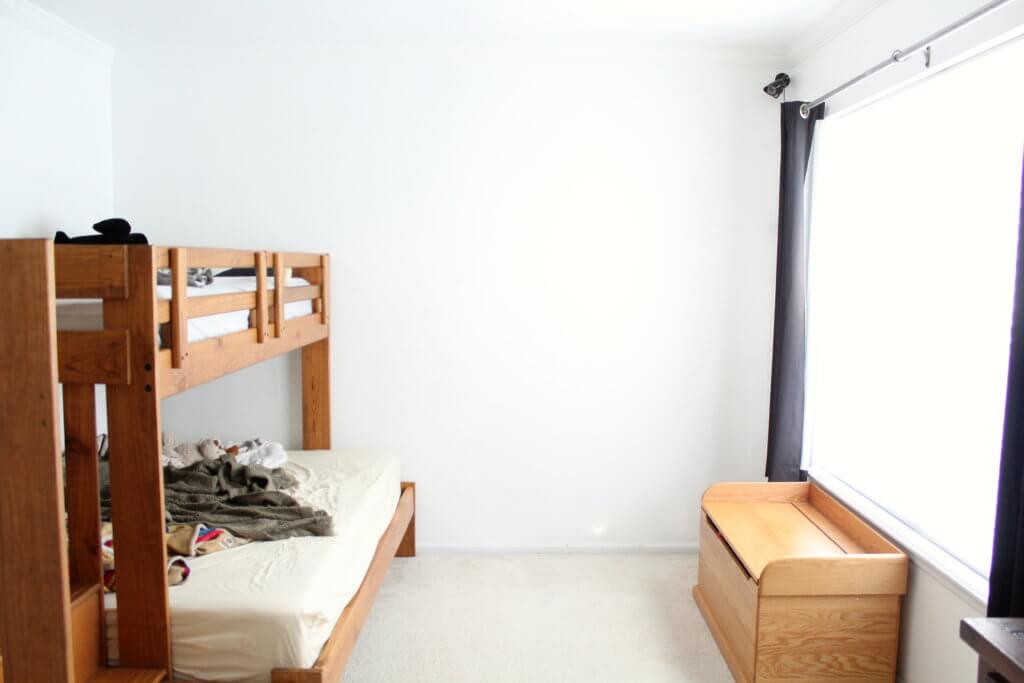
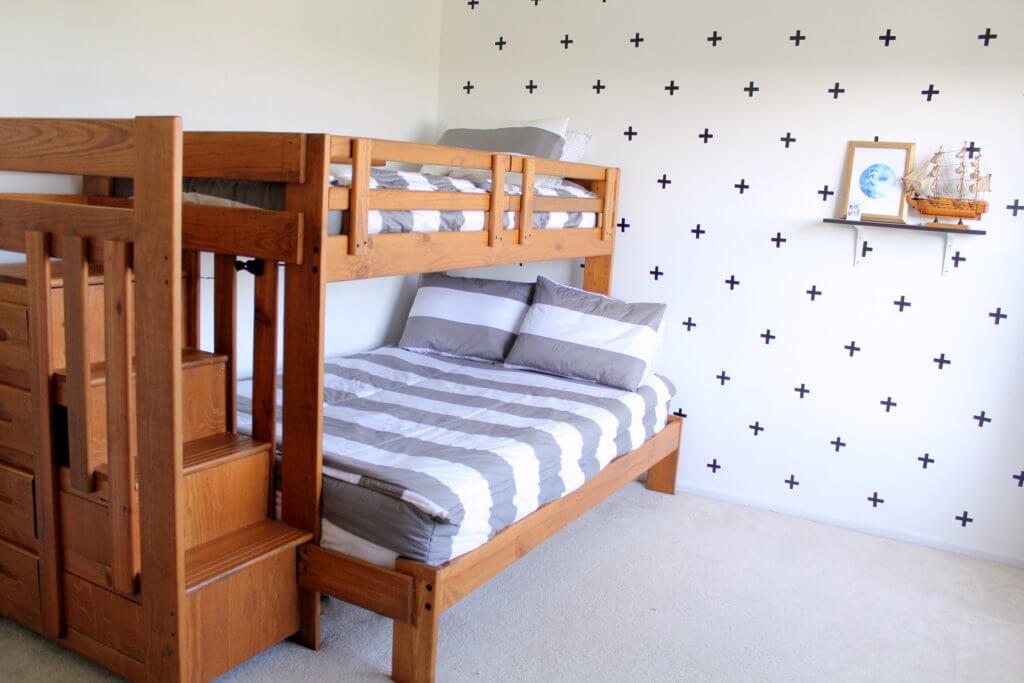
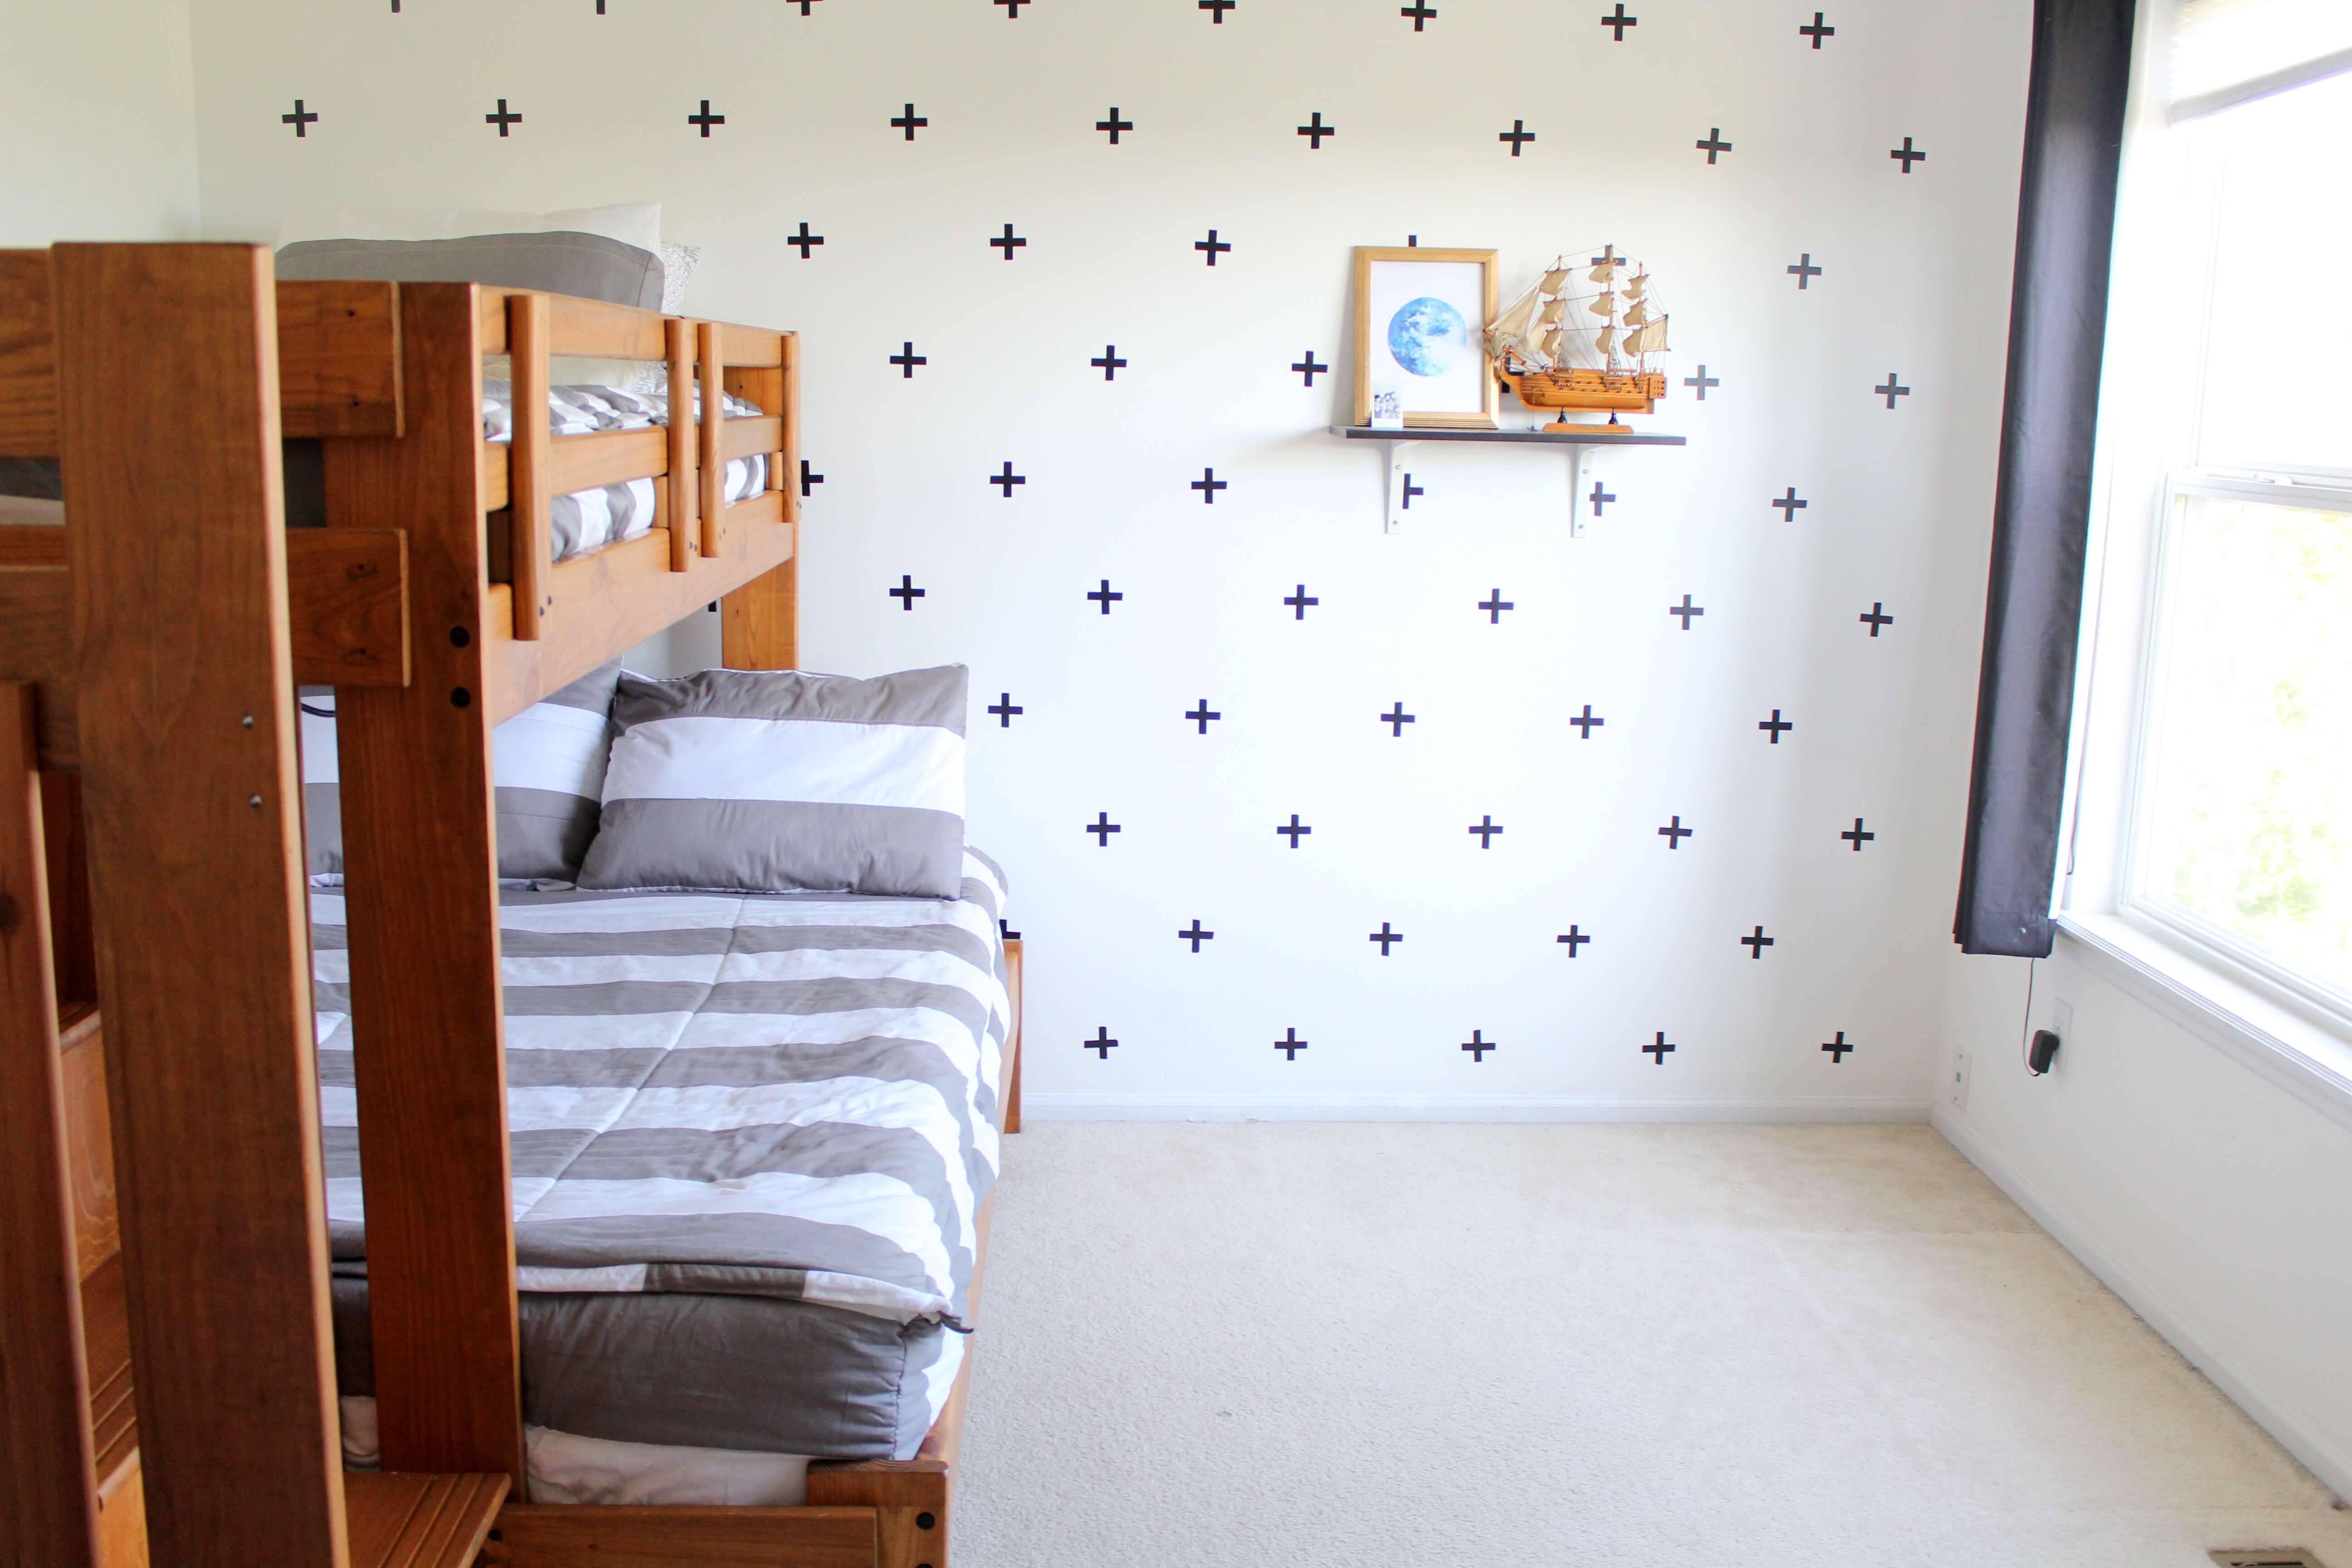
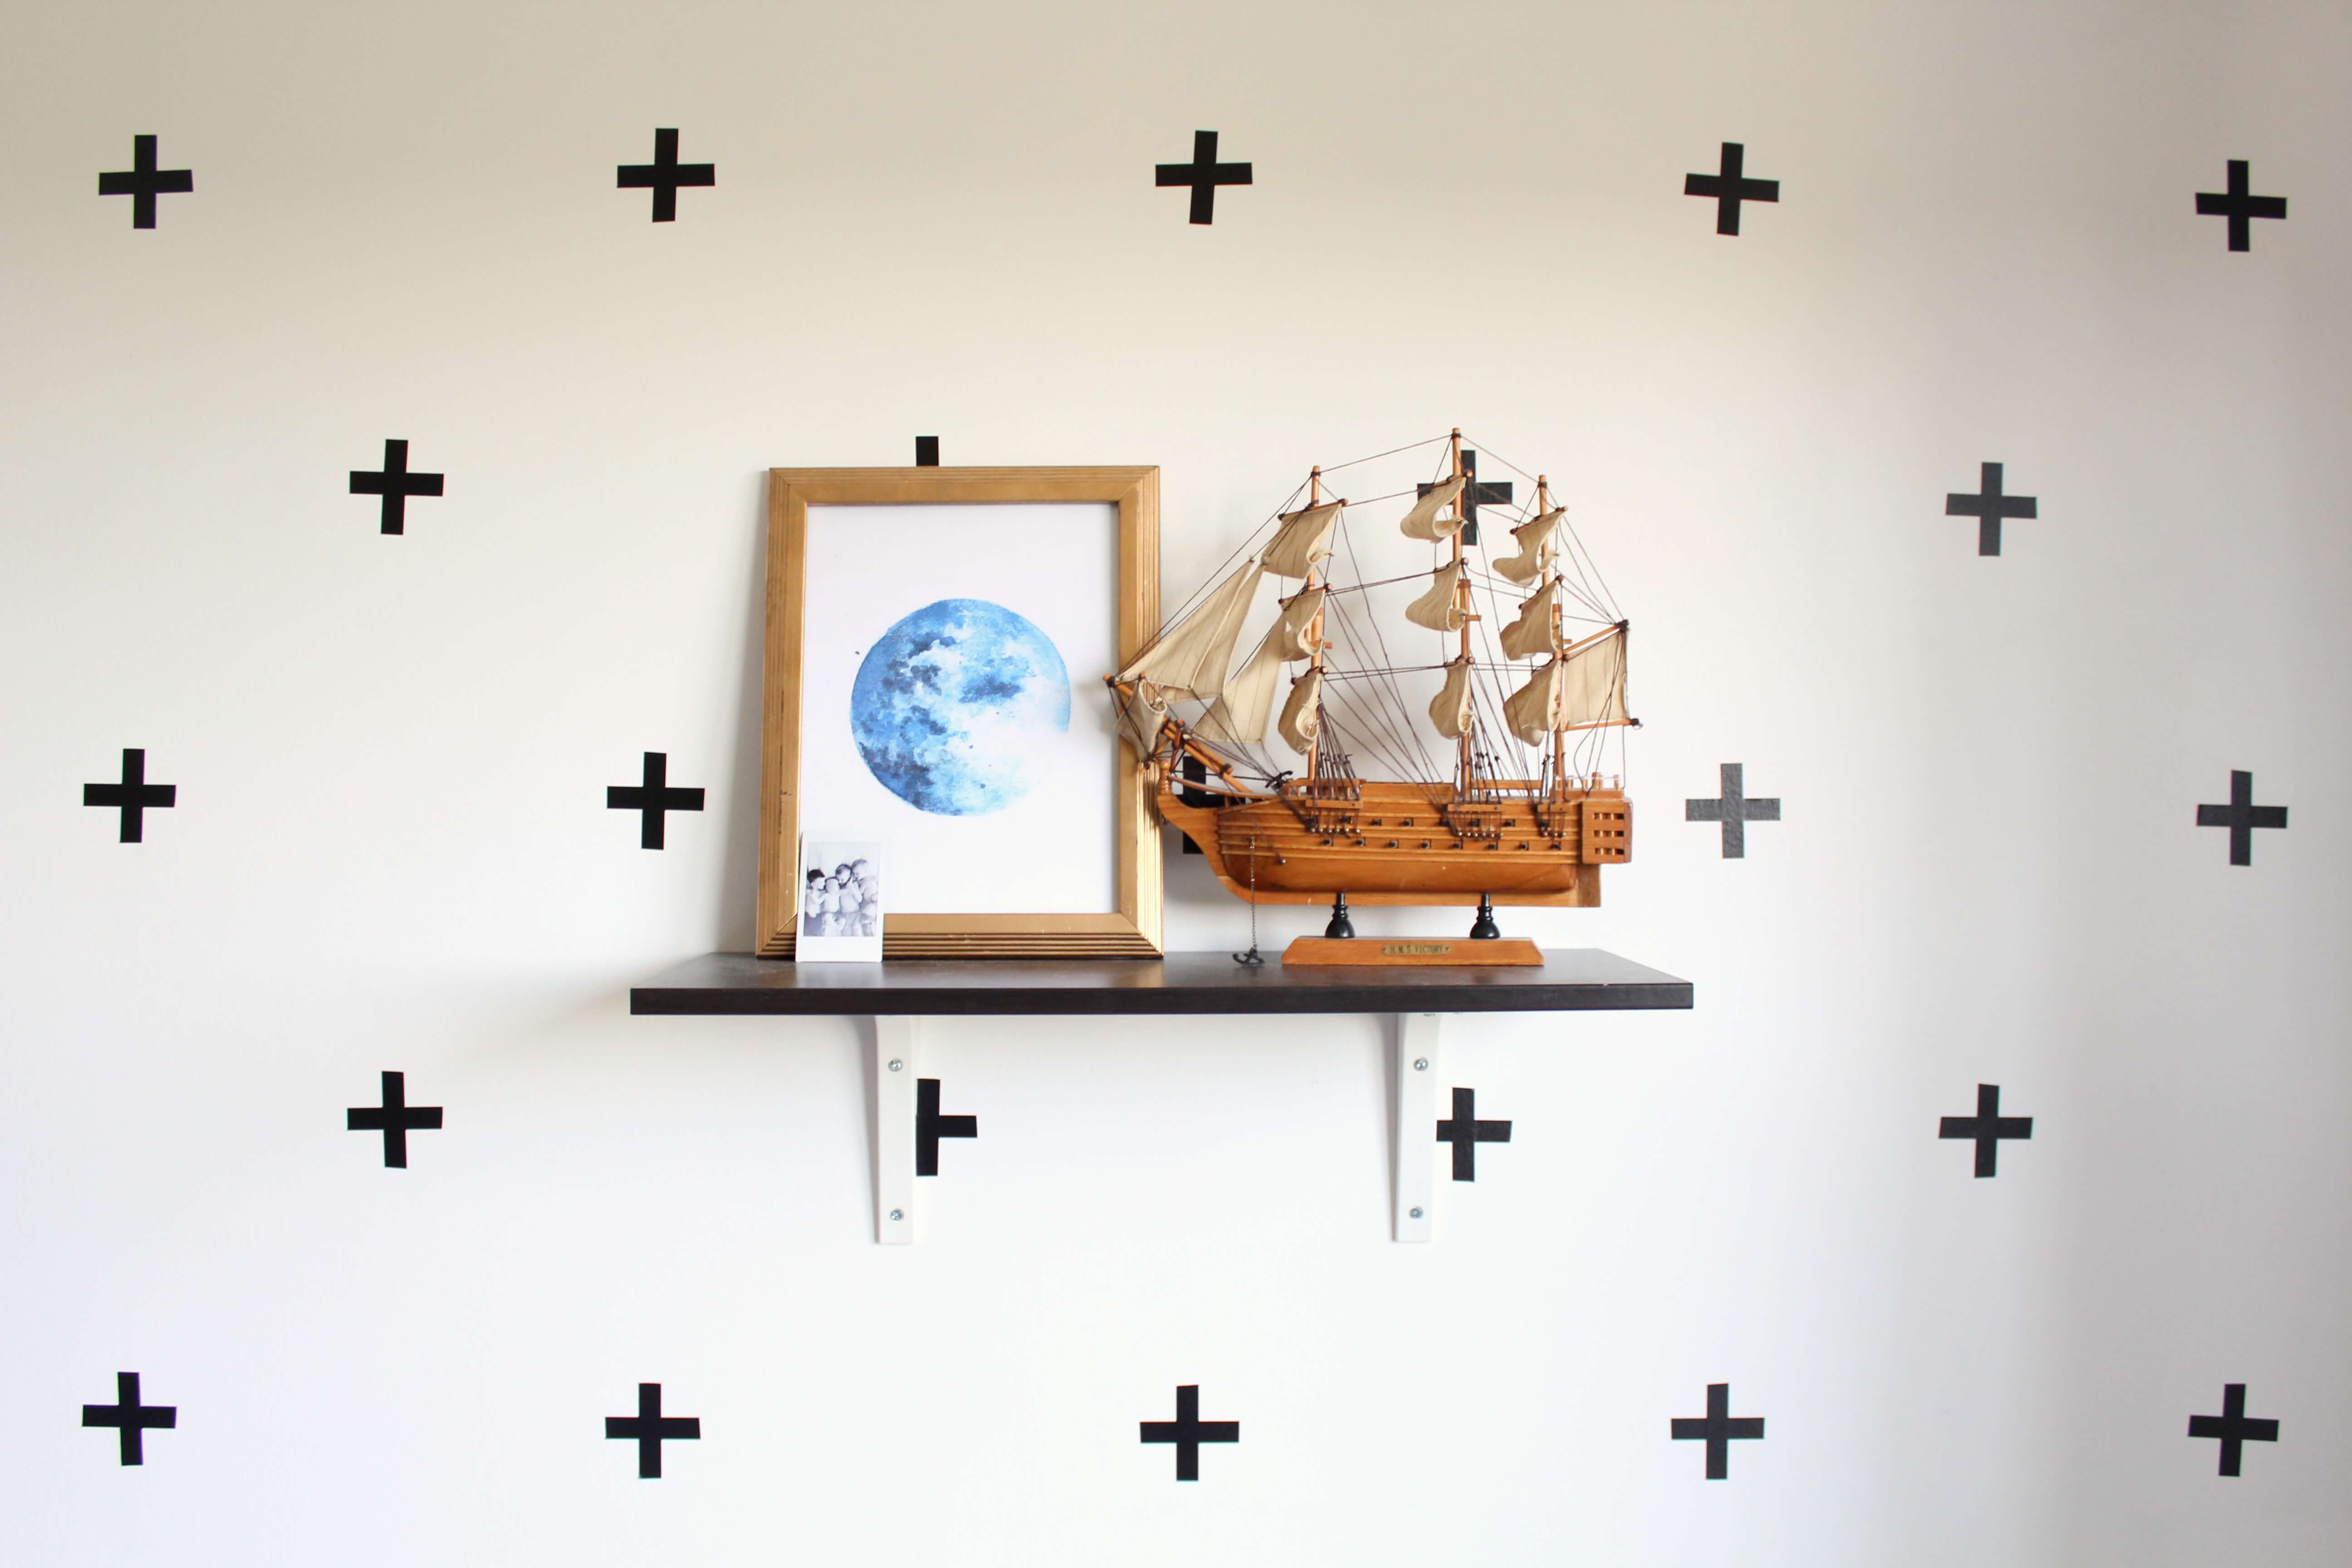
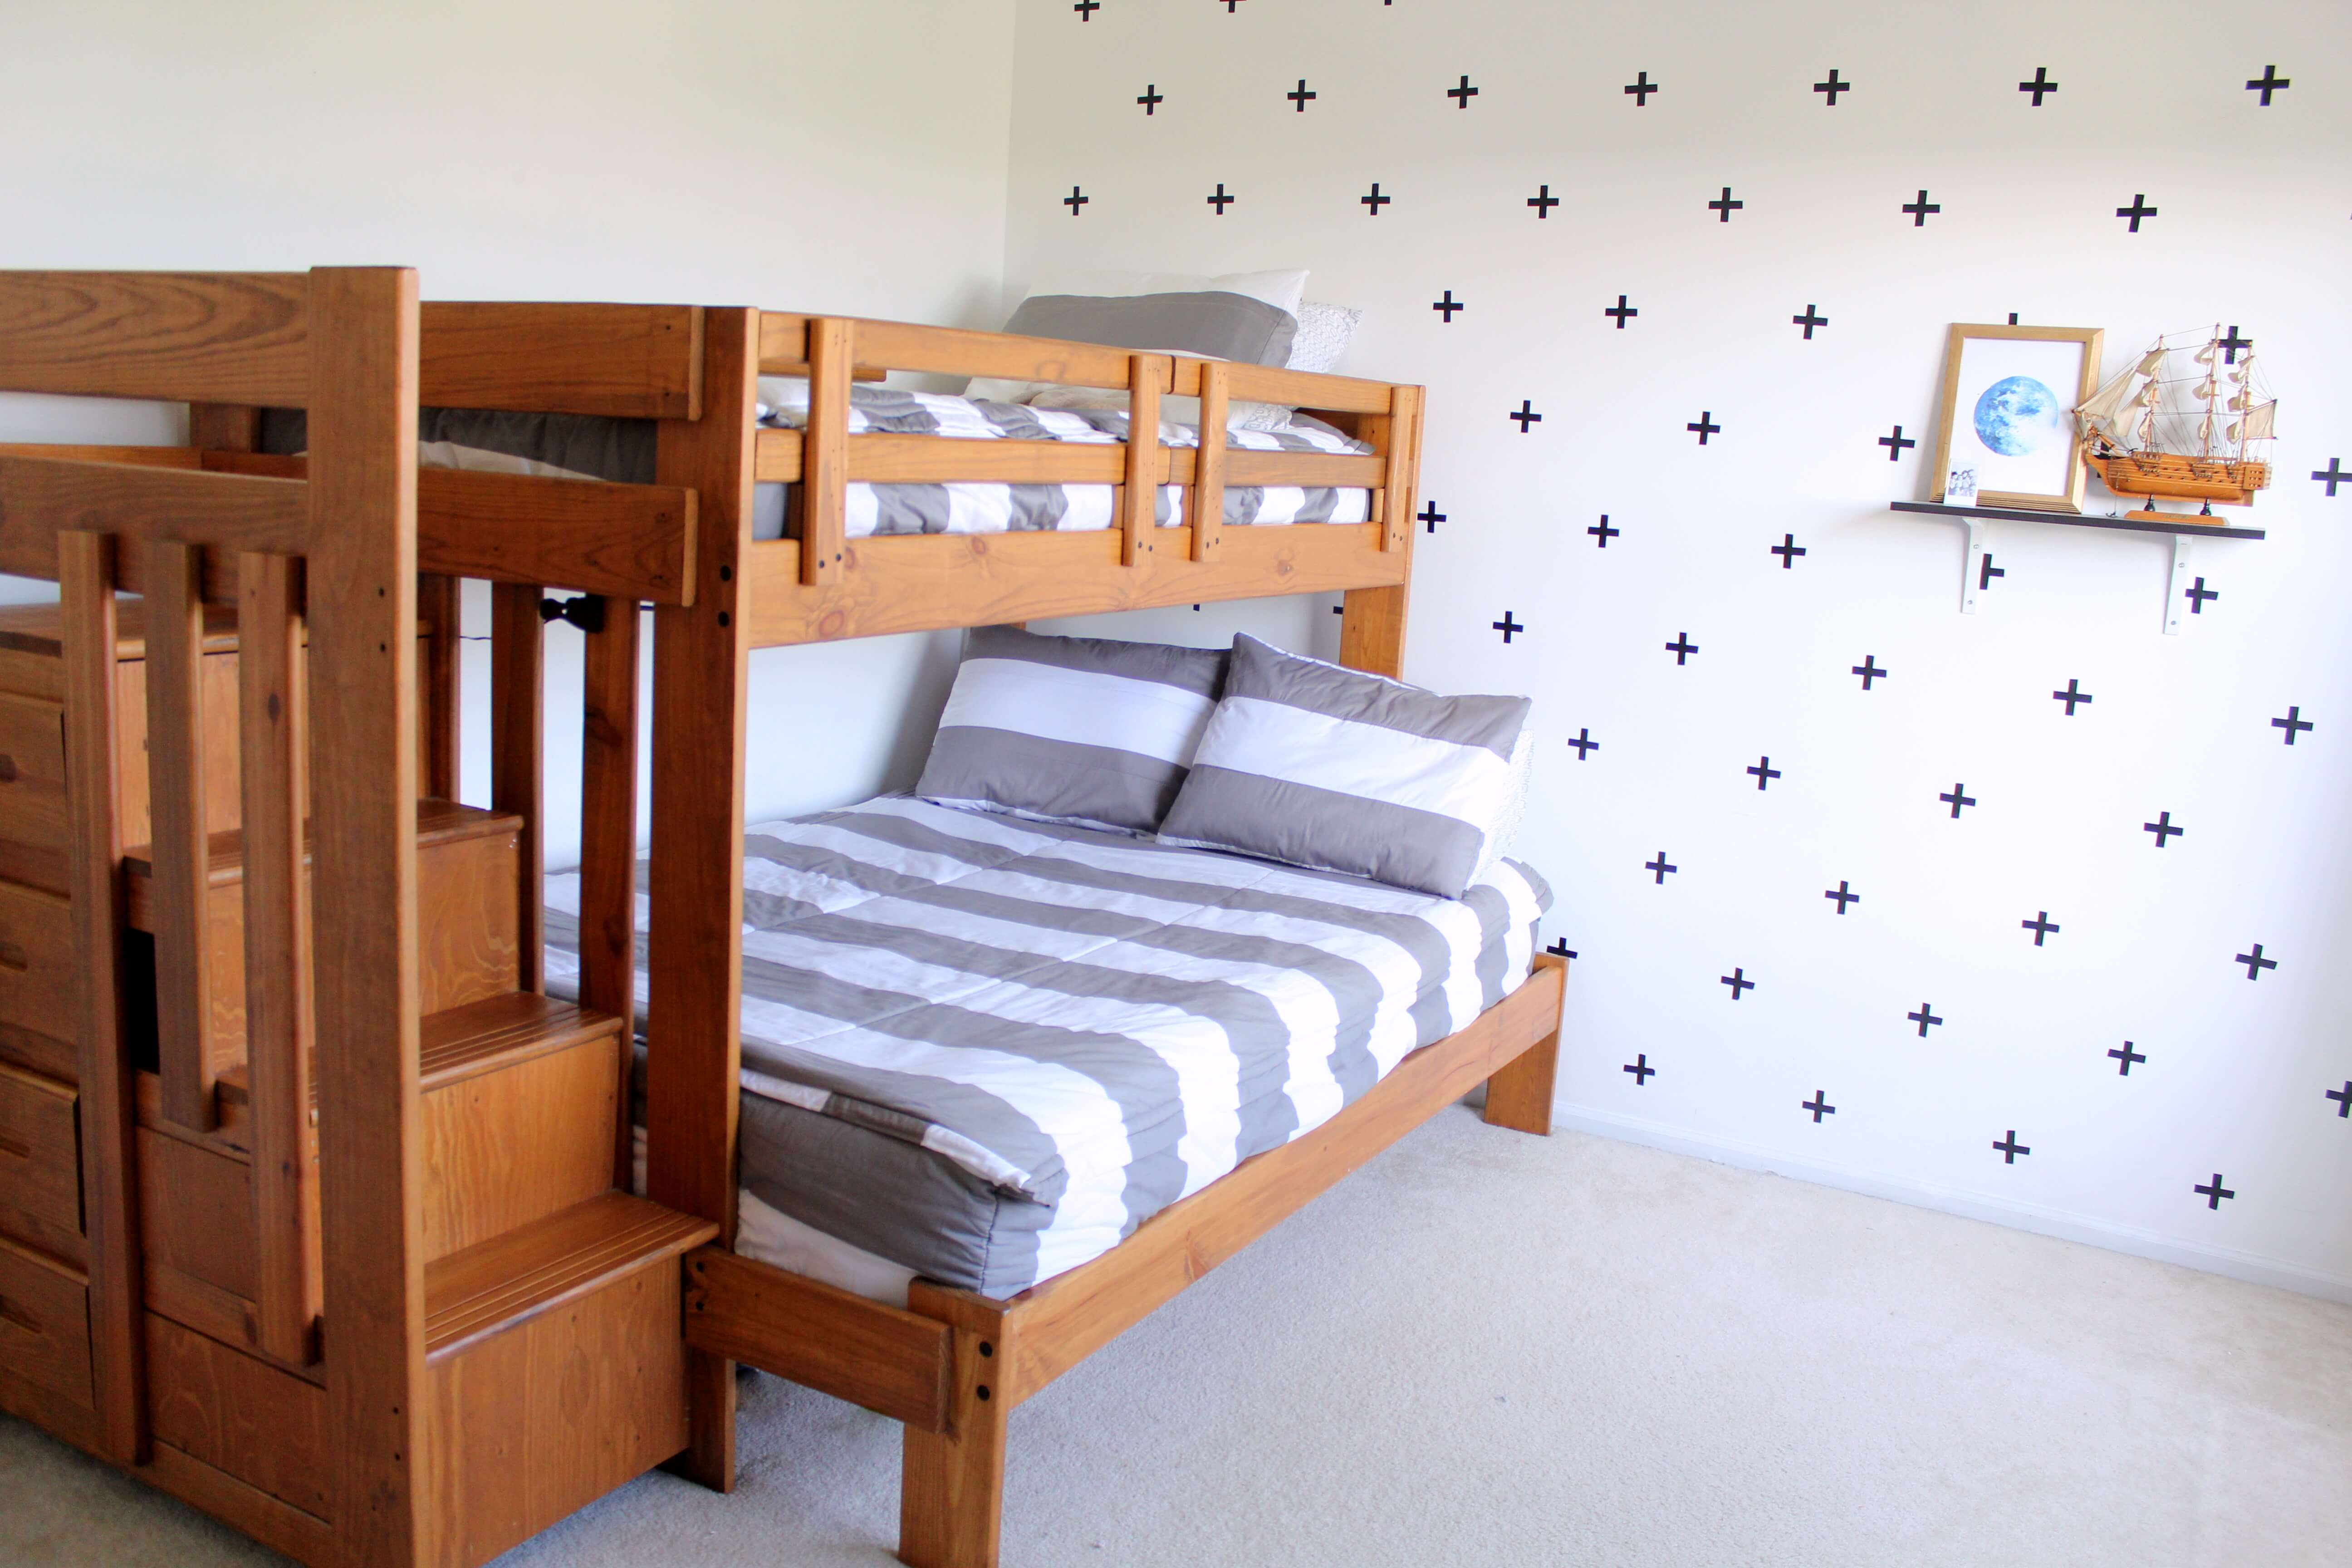
This room was already white when we moved in. I knew that I wanted to keep the walls white, but I wanted to add some modern elements to the room. The boys and I tried to come to an agreement on a design for a statement wall but ultimately, I went with my original idea, swiss crosses made out of washi tape. (They had some ambitious ideas–like a hand painted solar system, hence the final decision.) I bought a roll of black washi tape from Target for $3 and it ALMOST filled the entire wall. I ended up having to go back to buy another roll. But you really can’t beat that price for a fun little update.
(after)
I thought about putting together a little DIY post for the decals. But I quickly realized that it didn’t really require too many instructions so I nixed that plan. But if you are interested in taking on this project, I just cut each piece into 2 1/2 inch strips and then attempted to eyeball their placement on the wall. When I realized that wasn’t the best plan, I had Don figure out the math to have them all evenly spaced. Even so, they are still lopsided and imperfect but I don’t think it’s noticeable when you walk in their room. We also moved their toy box to their closet to give more floor space. And then we promptly filled that space with Desmond’s playpen haha.
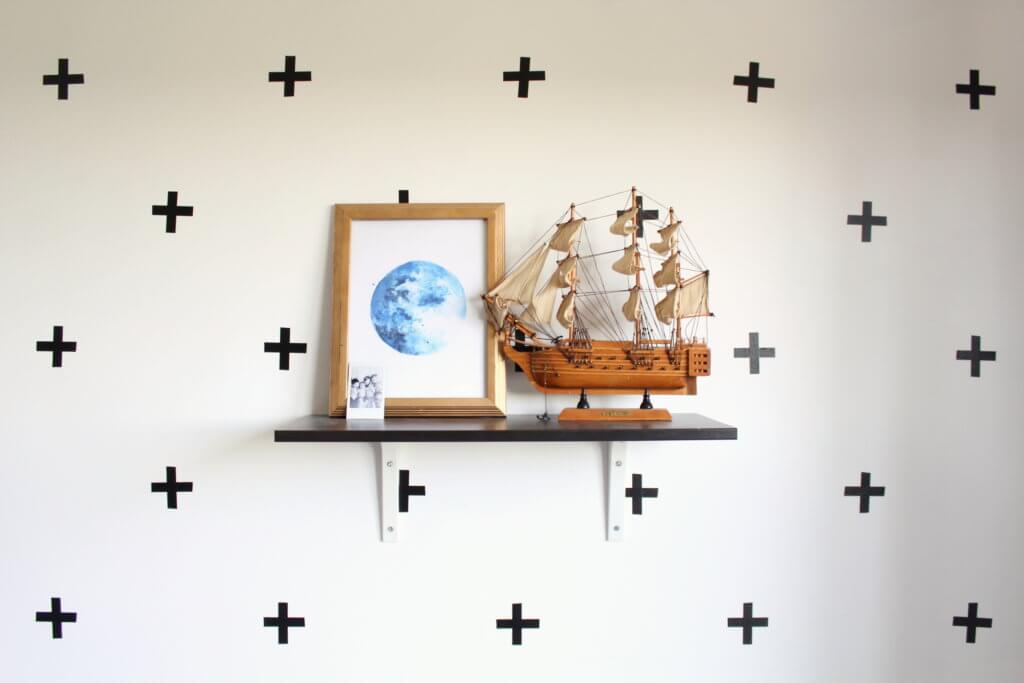
This moon print is from Redwood Paper Co. The shelf is from Ikea. The amazing ship was thrifted!
This is the other side of the room. The door on the left is their closet and the door to the right leads out to the hallway.
(before)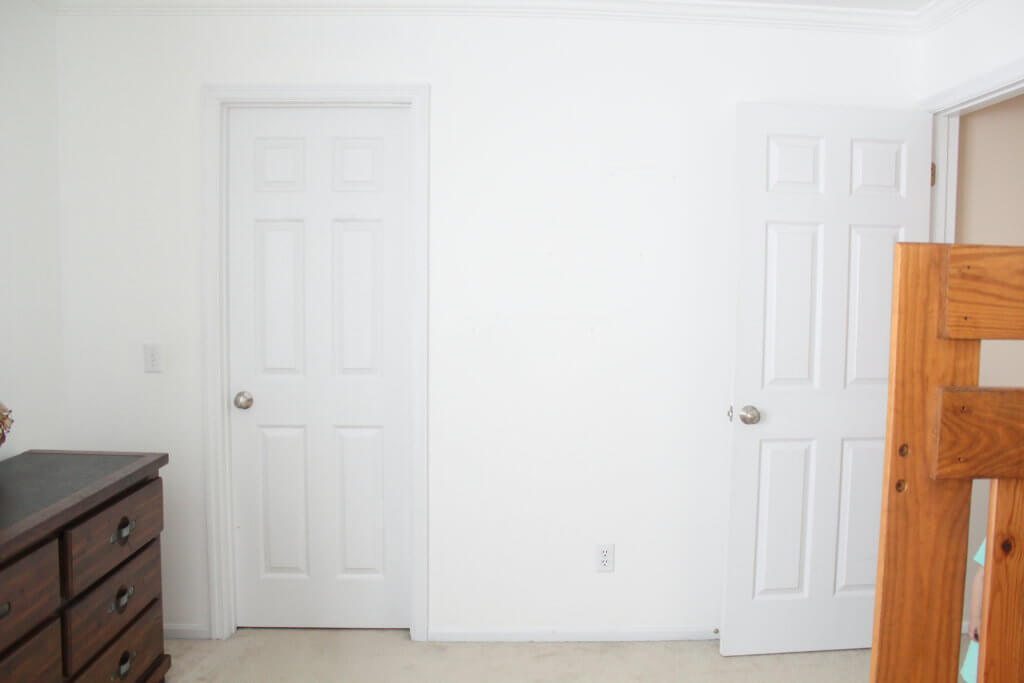
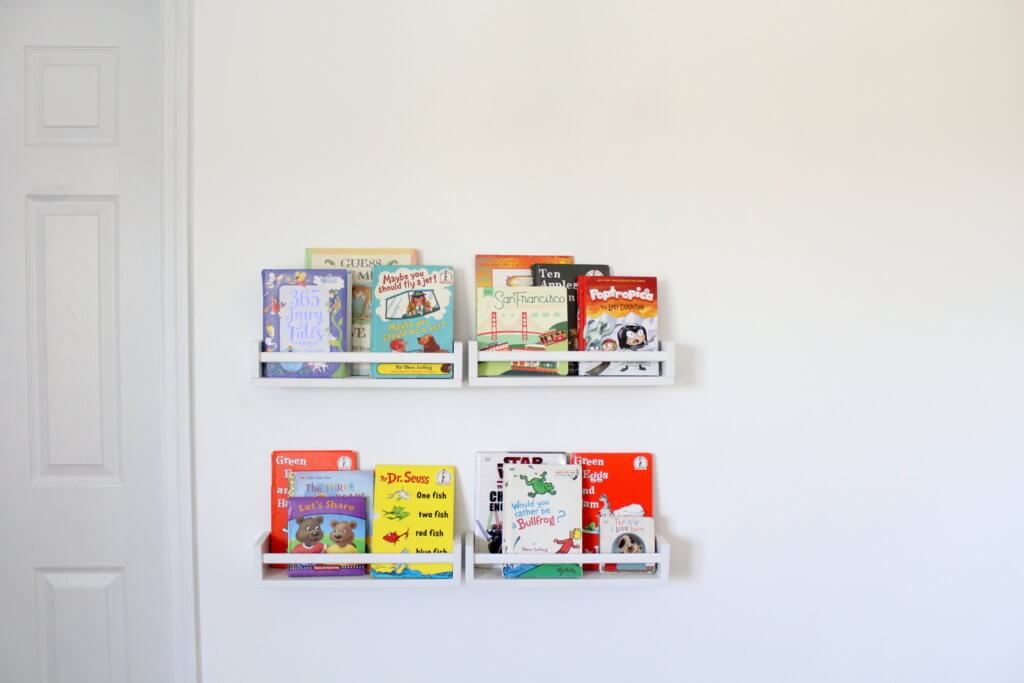
We added these spice racks from Ikea as bookshelves. The books were being stored in a big tote in their closet. Once we installed these shelves, they started pulling books out more often. Now they just keep rotating what books go up on their shelves.
(Before)
In addition to this dresser, we have another one in their closet and the bunkbed also has drawers in the stairs. Desmond’s clothes are in Evangeline’s room for the time being. Storage will probably become more of an issue as the boys get older and bigger. But this works for us for now.
I had been wanting an American flag to hang above their dresser. And amazingly, at the same time as I was looking for a free one, someone at church was getting rid of one! Liam is especially obsessed with the American flag, so I loved being able to fit this into their room design.
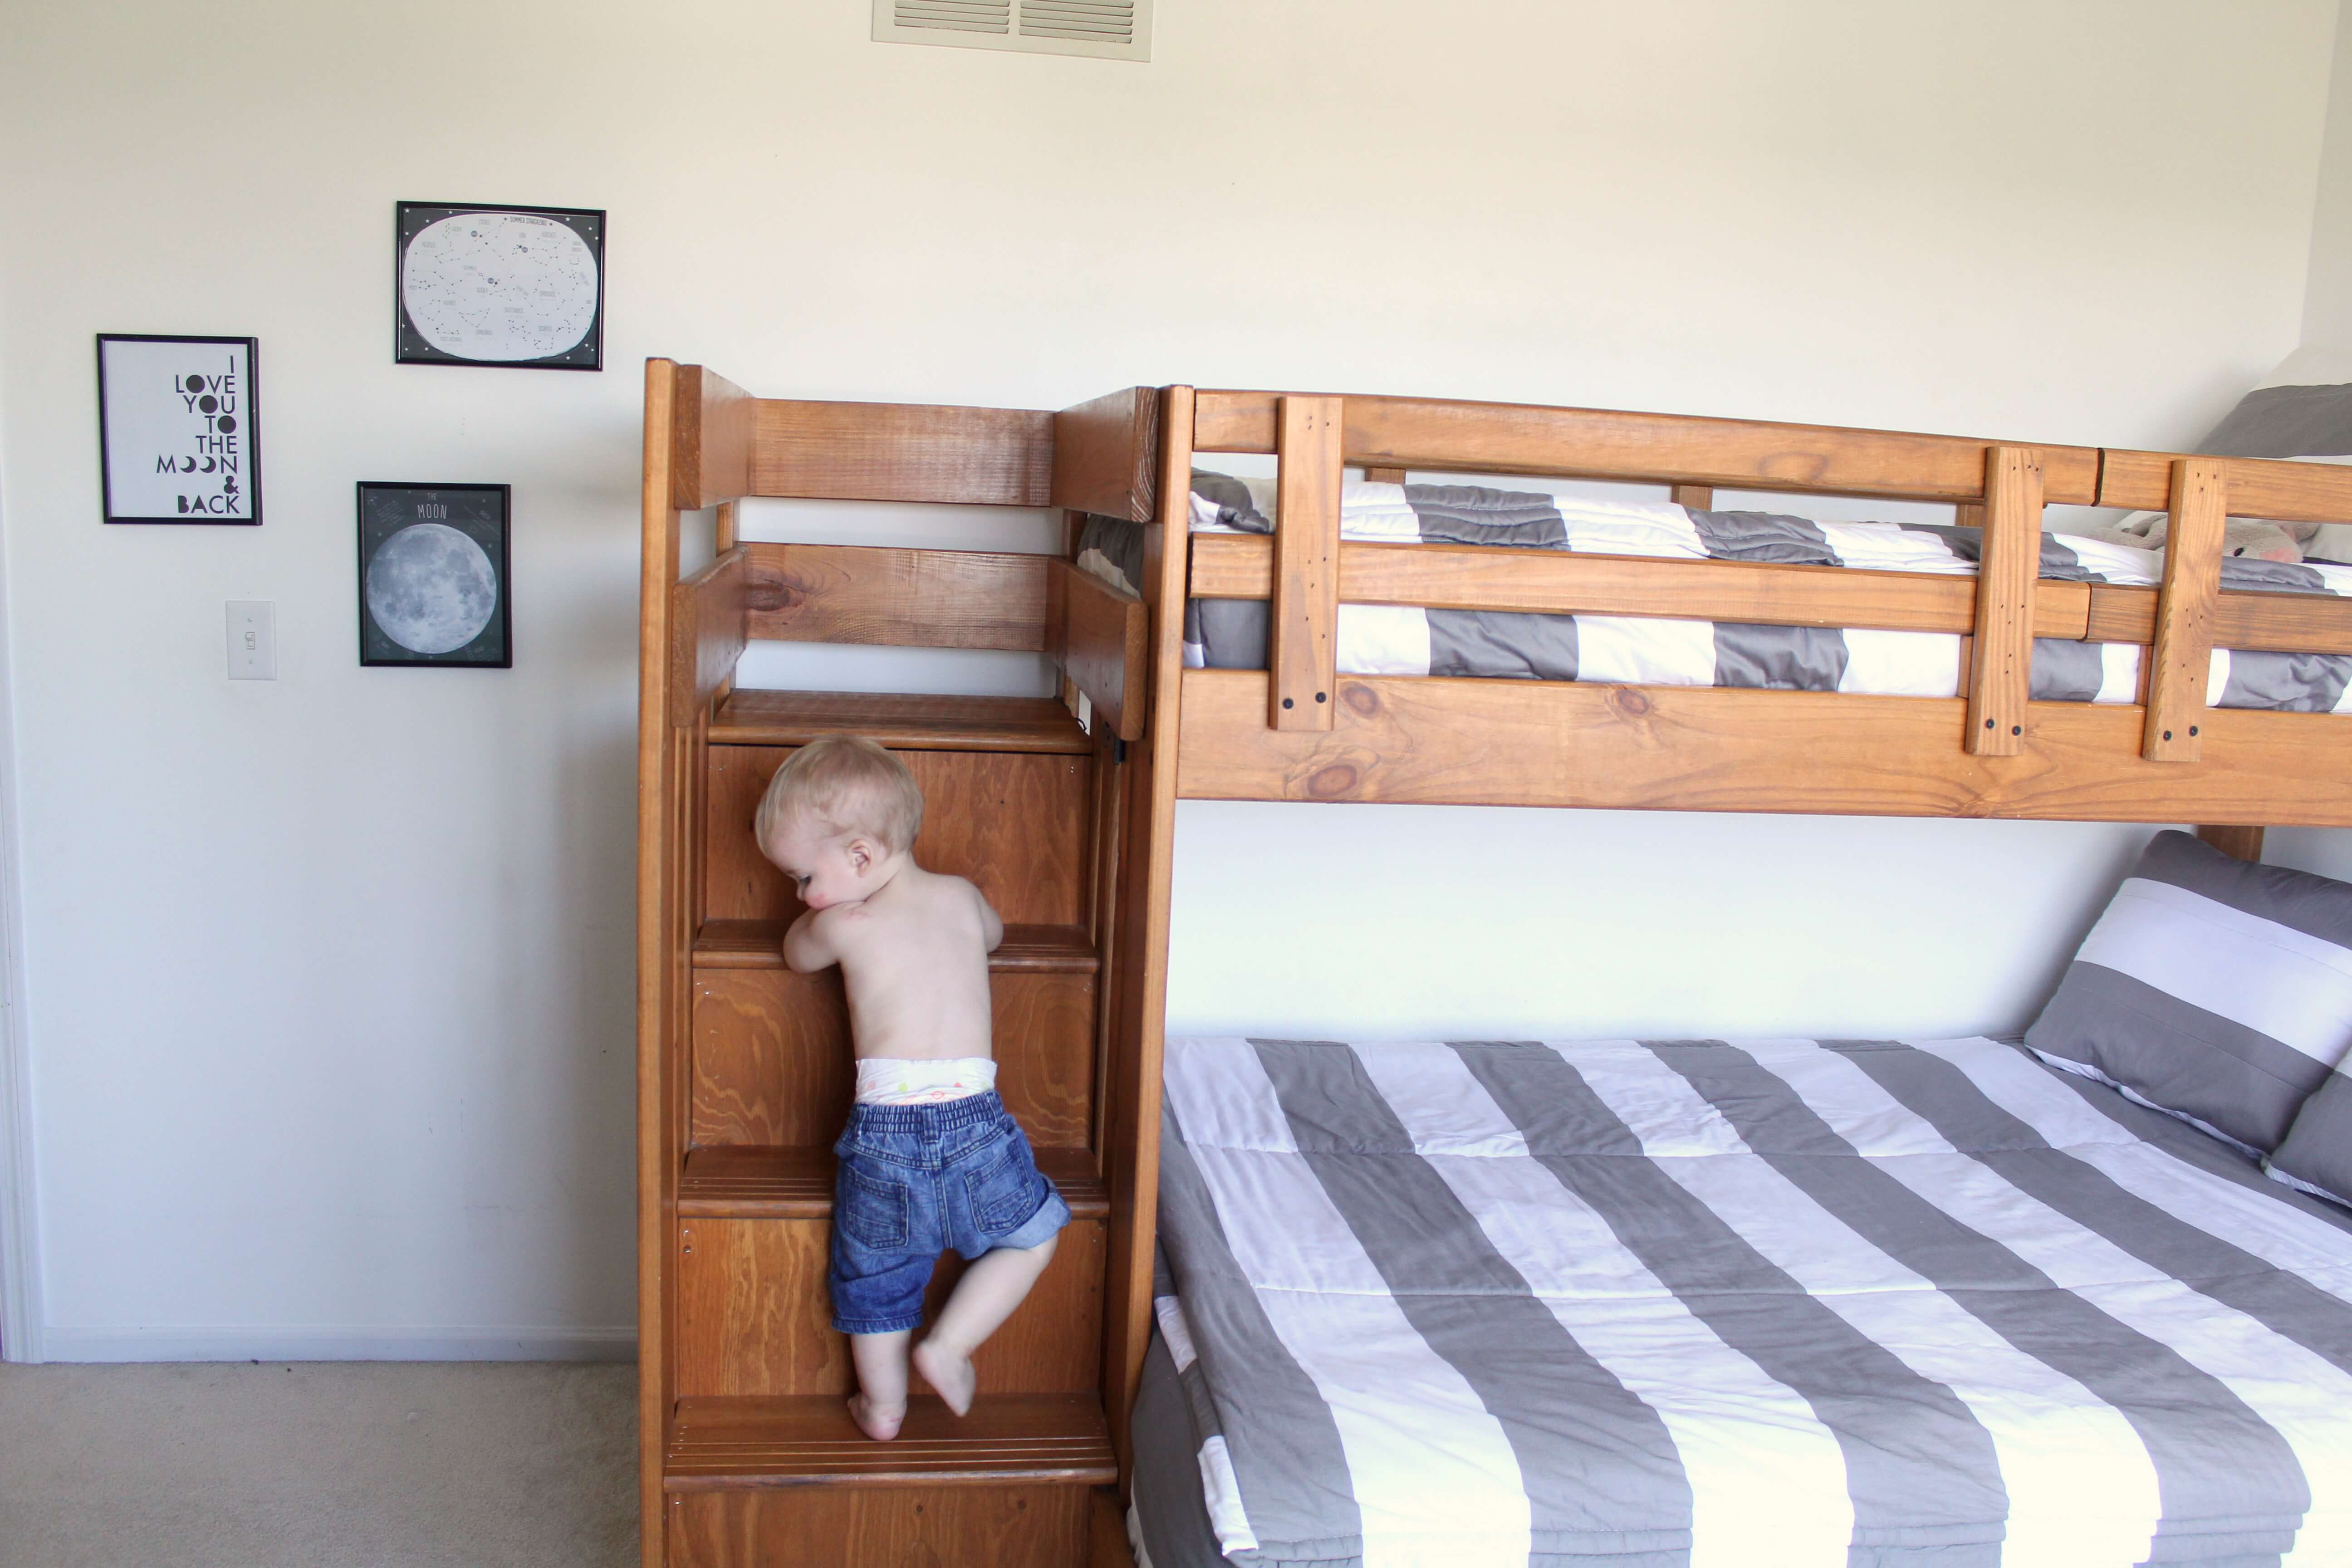
(after)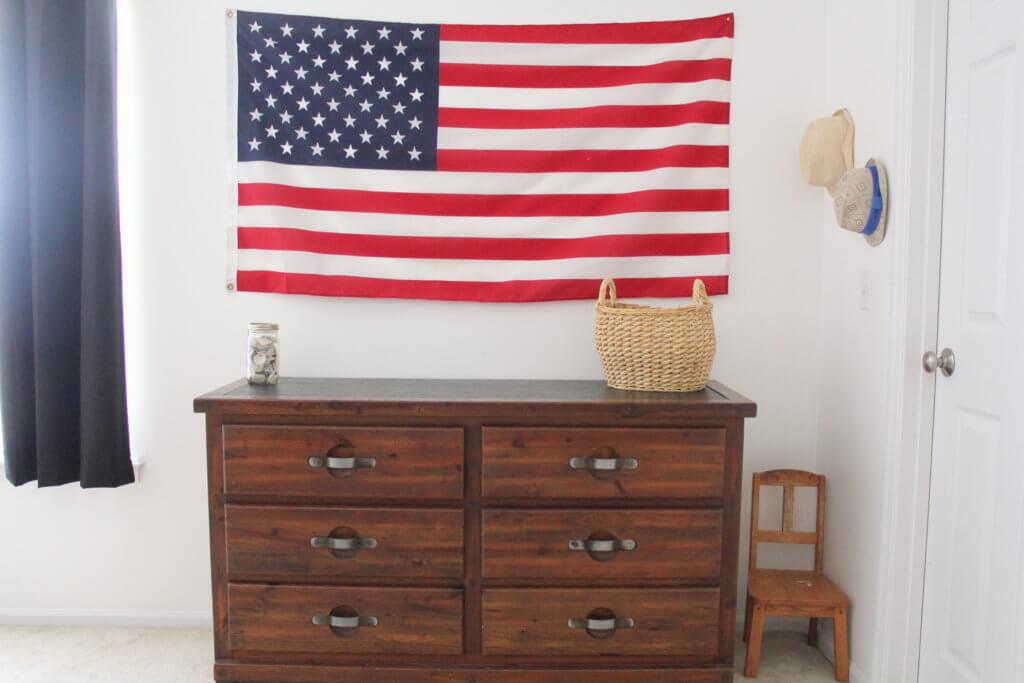
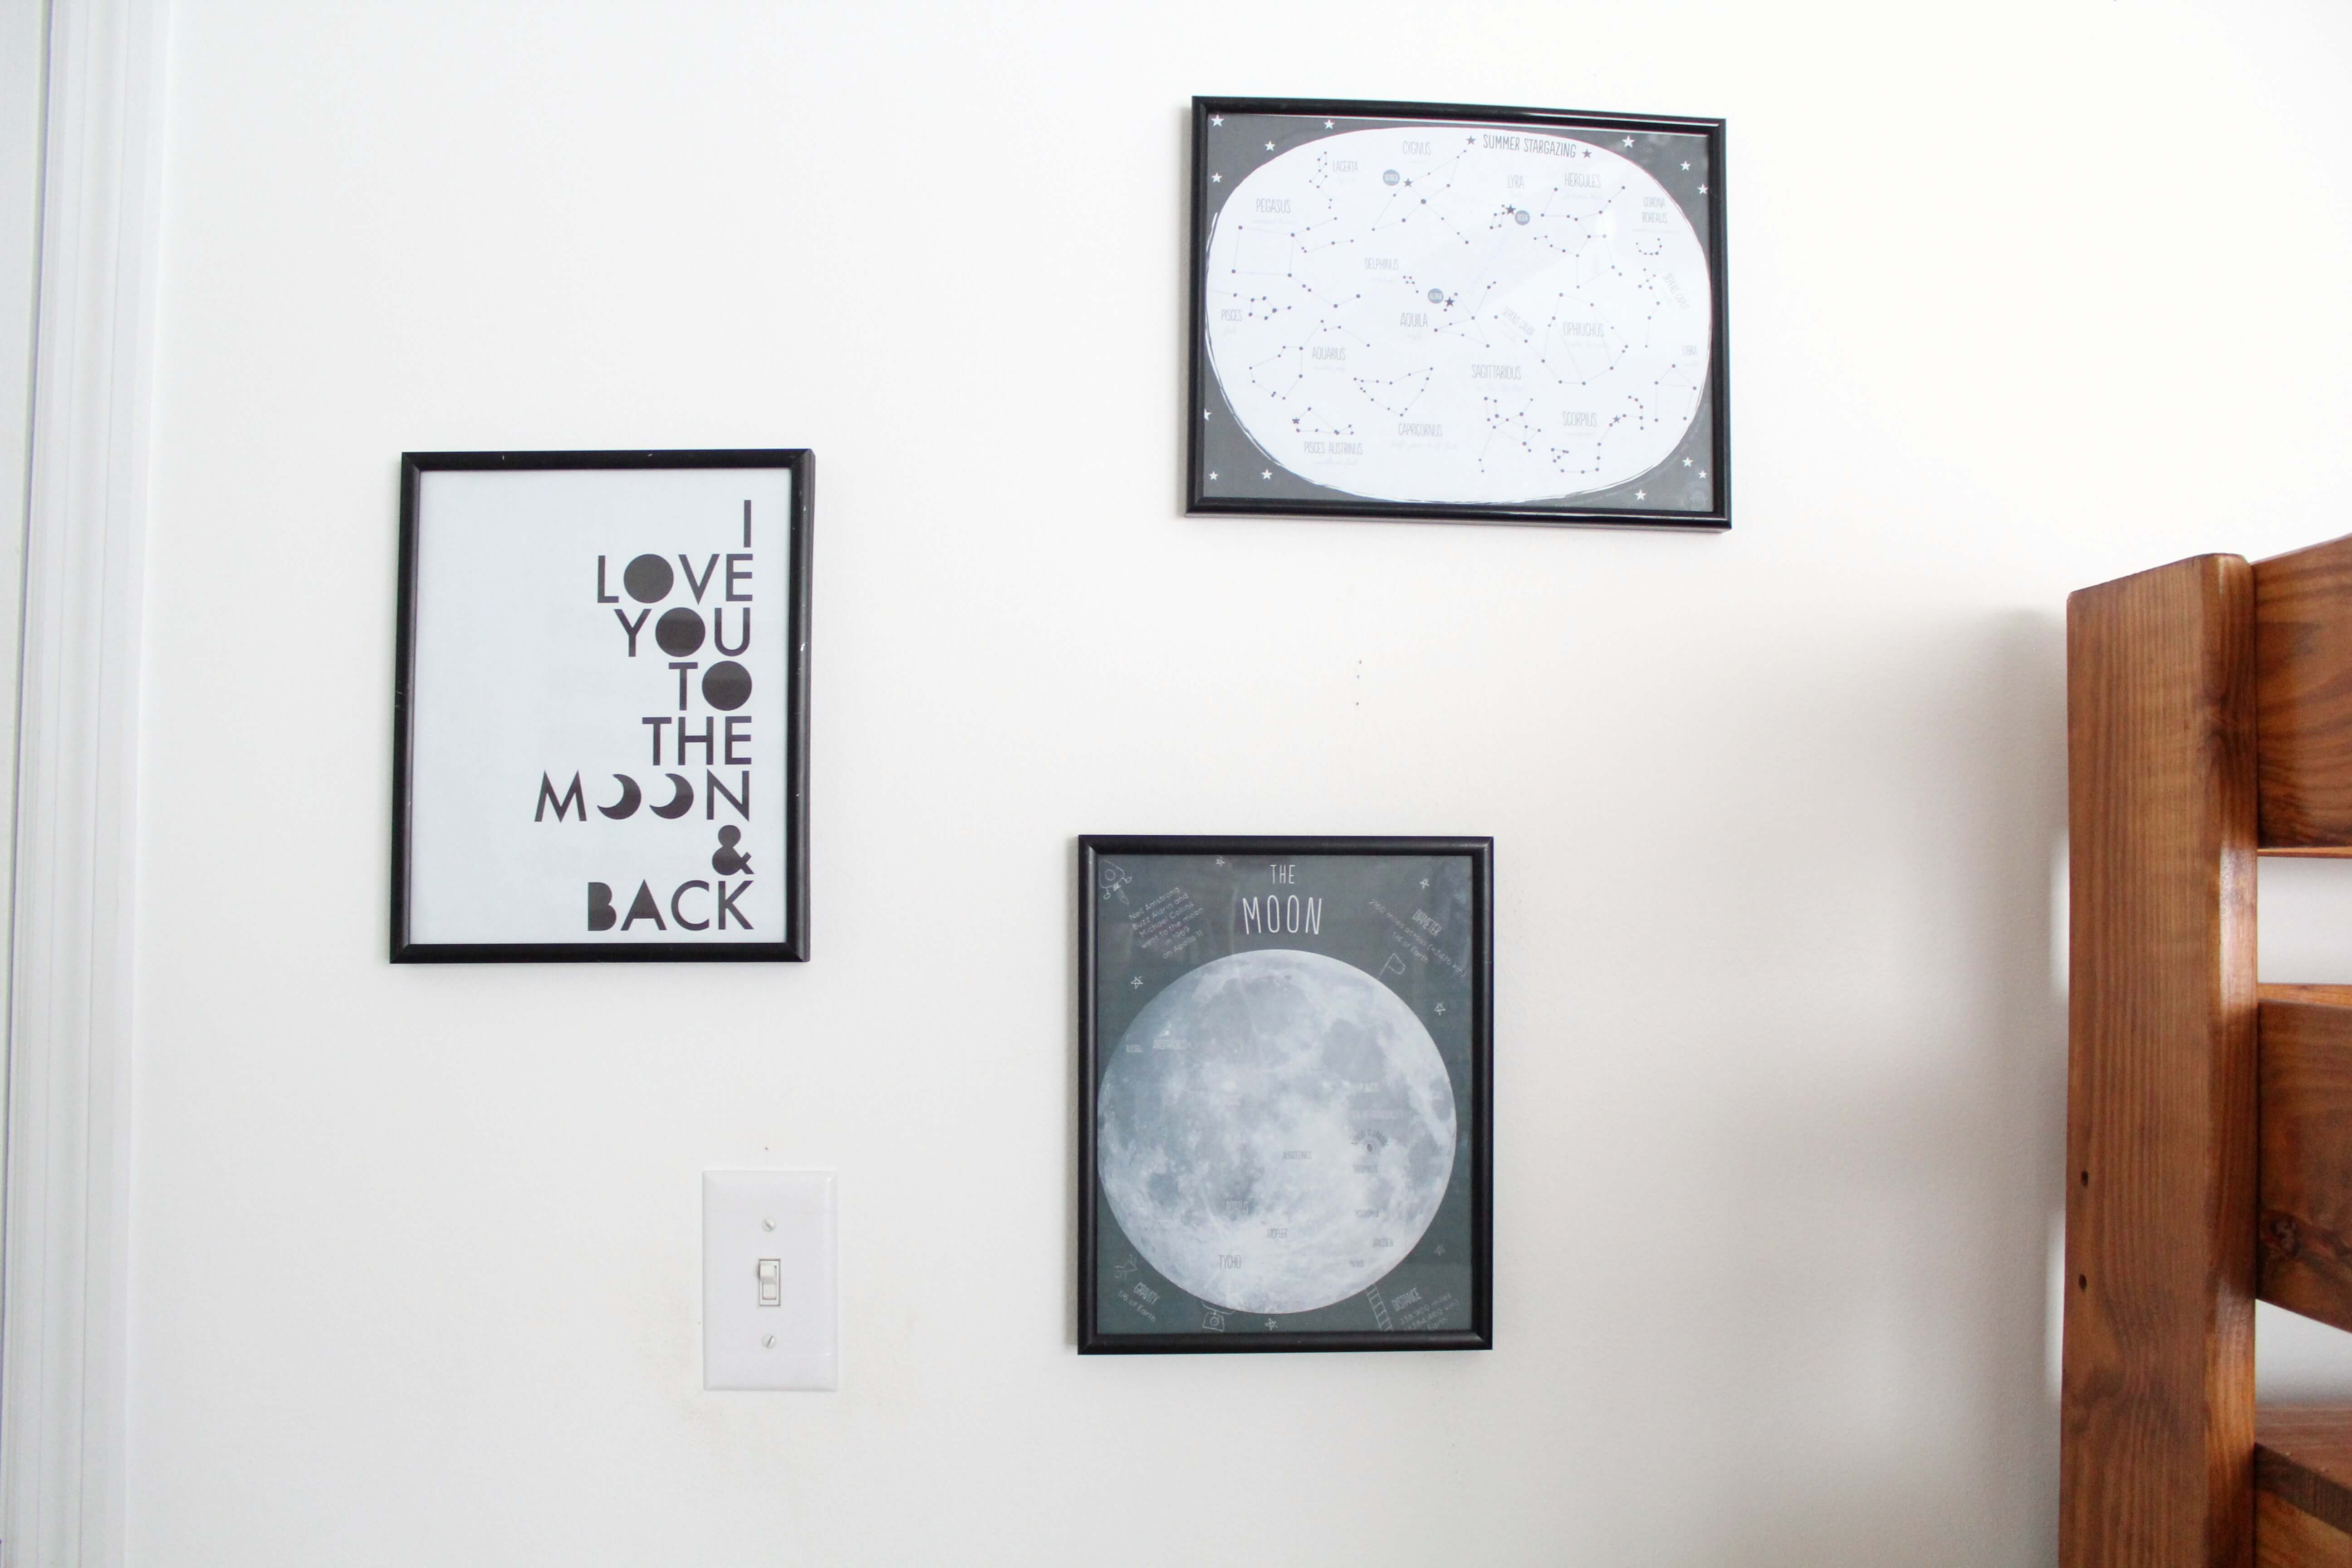
I want to hang something on that wall, above their bed. But I’m still searching for something. These 3 prints were free printables that I found on Pinterest and the frames were thrifted.
And that wraps up the boys’ room tour! Even though there are still changes to be made, I love that we were able to update their room without spending much money. Besides the bedding, this update cost us probably $30 or less. I think I covered just about everything but if you have any questions, be sure to leave them in the comments!
In the next couple of days, I’ll post Evangeline’s room! Hope you’re having a good week!